Vill passa på att inspirera er med fem fina höstnagellack från mitt favoritmärke OPI eftersom jag i oktober har en rabattkod på Parfym.se!
Koden "Helenaokt” ger...
Sweed Lashes Mascara är otroligt omskrivna i sociala medier och här kommer min recension av båda varianterna; Sweed Lashes Cloud Mascara och Sweed Lashes...
Finally, I thought I would show you our self-built campervan / sheet metal / motorhome! Also takes the opportunity to answer what to think about when ...
Finally, I thought I would show you our self-built campervan / sheet metal / motorhome! Also takes the opportunity to answer what to think about when ...
I have been using Manukahonung MGO 600+ for a while to relieve my sore throat and try to get rid of my recurring sore throat / throat infections. So...
NYX has a fiber mascara, NYX Double Stacked Fiber Mascara (adlink), which just like Santhilea Magnetic Lash (which I always use otherwise) does not have the fibers mixed in the mascara itself but these come in a sleeve on the side of. You apply mascara first, then fibers and then mascara again, then the fibers settle on the lashes as a thickening and extension.
I received the mascara in a press release quite some time ago and now I have finally put it to the test! :)
At once I say diss to the fibers, not that they are bad in themselves but because I do not understand the thing with just white fibers! I want to be able to focus only on painting the fibers nicely and not also have to think about embedding them completely in mascara so that nothing white is visible. The fibers that I otherwise use are already carbon black, so if they are not covered by the mascara for 100%, it still looks nice.
However, the mascara is not expensive so you can skip using the fibers and only use the mascara, and I like the mascara itself :)
So now I thought I would skip the fibers and focus more on the mascara!
Award
It has recommended a starting price of SEK 179, so I think more that the fiber sleeve can be seen as a bonus type.
Speaking of which, there is mascara for SEK 143. HERE (adlink) och det står “endast fåtal kvar i lager” så det är ett tips! :)
Appearance & result
This is what the lashes look like, without fibers only mascara :) Nice huh? Good volume and length but still separated and fine.
I still have a little bend left on the lashes after my eyelash permanent (lash lift) so they are a bit bent even though I did not use a bender.
Packaging
Hylsan är stor men innehåller 8 ml vilket är “normalmycket” för en mascara, så det är bara förpackningen som ser maffig ut.
Mascara brush
Borsten är en ganska “klassisk” mascaraborste och jag tycker att den ger lagom mycket mascara och kammar fransarna bra!
Application
I think it is very easy to paint! The brush is not stingy in color, but you quickly get a lot of mascara and volume, but it also does not give too much mascara so that it becomes difficult to paint or clumsy. You can easily build on a little more without it becoming clumsy.
sustainability
For me with very oily skin, it is at this point that most mascaras fail. It is difficult to find mascaras that are not dissolved by oil and smudges on the brow bone. This mascara is water-soluble and does not crumble or smudge, so it lasts great!
It's not as easy to wash off as I'm used to though. I think this is an important point on a good mascara and also a difficult balancing act - it should sit well all day but disappear easily once you remove it! But it is also not difficult to wash off so it is not a big minus.
Summary - I will not use the fibers but the mascara itself gives nice volume, length and can be applied quickly, a lot of color directly and no lumps or strangeness! Good durability without crumbling or smudges, not waterproof but still not the easiest to wash off. Affordable even if you do not use the fibers or if you only use the fibers for parties as you have more time to do with the lashes.
If any of you tested this, it would be fun to hear what you think :)
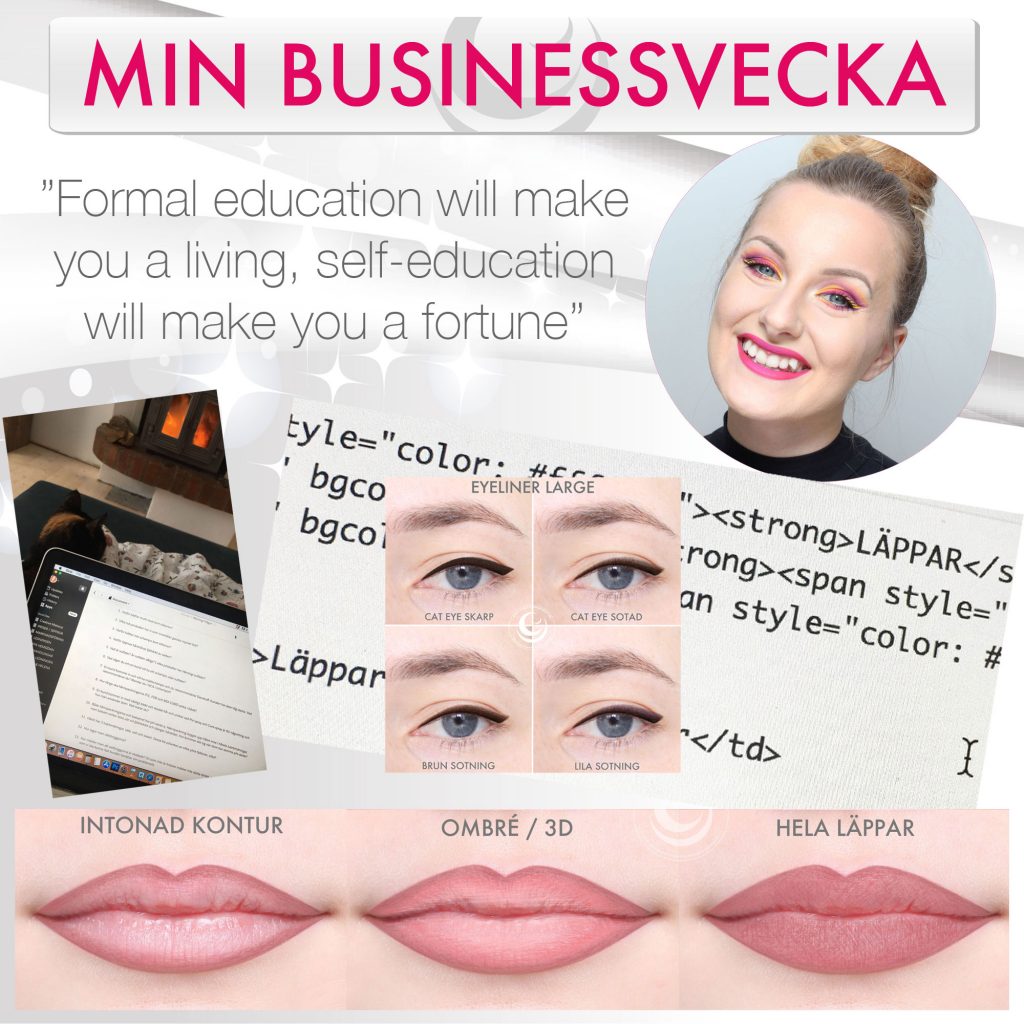
Den här veckan har gått i samma “admin-jobb-spår” som förra veckan! Massa att-göra-saker som tagits tag i och en bra blandning mellan kreativitet och måsten :)
The film application for TV programs
Then I also helped make a video for a person who is going to apply for a TV show. Even though it was not a job, I have been able to use my make-up skills, film equipment and also edited the entire film! It was so cool! An evening project this week :)
Happy staff room!
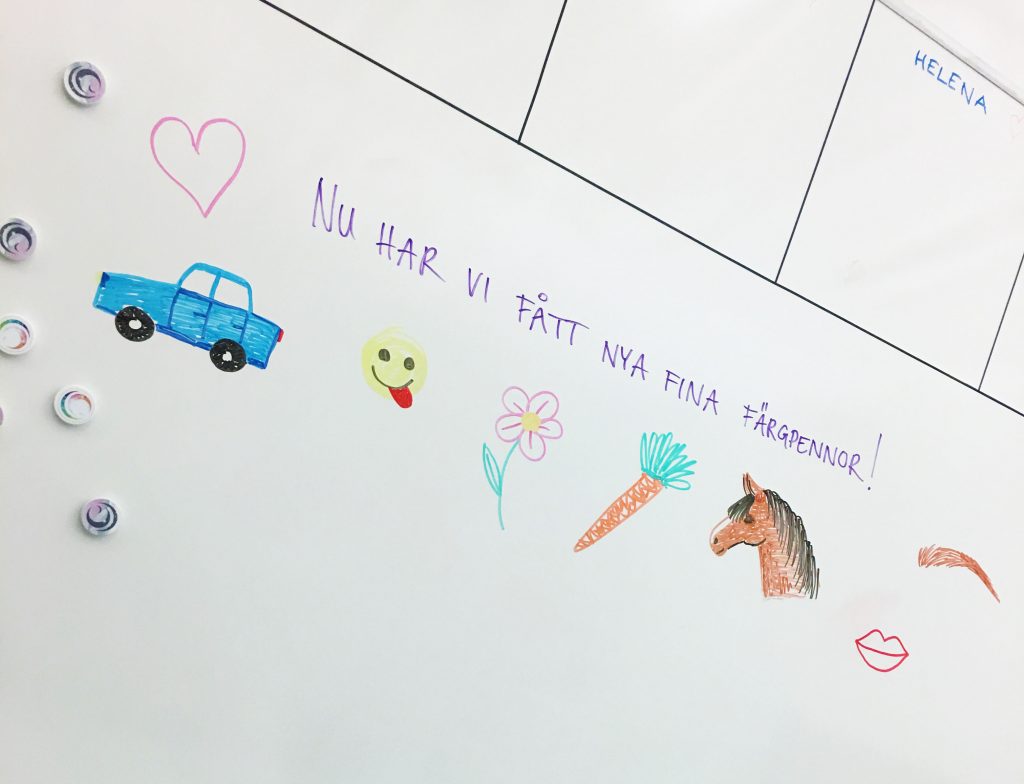
We have set up a large whiteboard in the staff room (where we also have our meetings) where we will, among other things, write down everyone's to do's after the meetings. For example. was one thing on the action plan (where we list all the do's) from the last meeting to buy pencils for the whiteboard and when I came to work one day it was so nice in there:
Annika has bought pens and magnets and also pasted on our logo (in different colors) on all magnets so each magnet is a Creative Makeup logo! The finishing touch - just like our brand! ;)
Clearer descriptions of permanent makeup variants
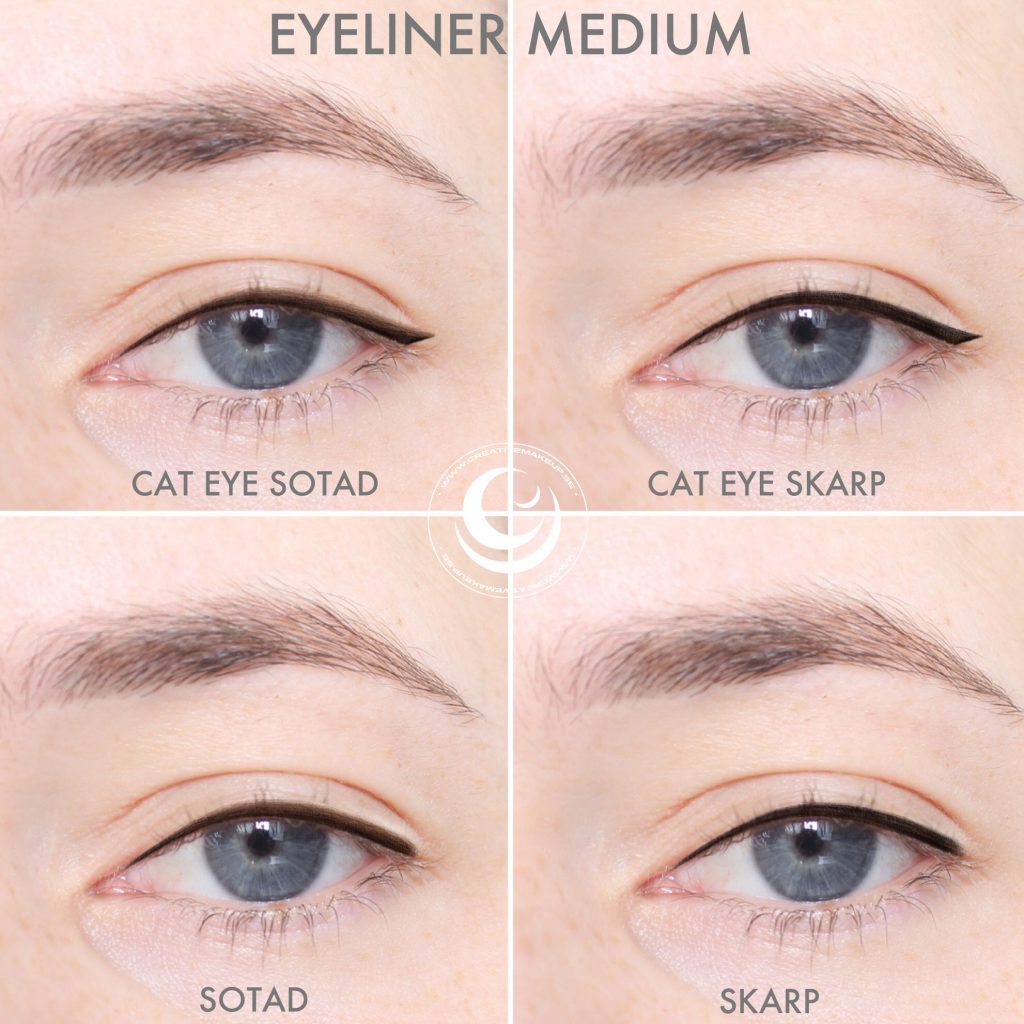
När man tatuerar permanent makeup så finns det flera olika varianter man kan välja på, inte bara “eyeliner” och “läppar” utan man kan göra eyelinern tunn, bred, uppe+nere, skarp, sotad, lite utdragen, olika färger m.m.
Most details you get help to decide on the spot if you are unsure, you draw before you get a tattoo so you can see the result before. But what you need to decide before is the size so that you book the right amount of time and can see before what the price will end up at.
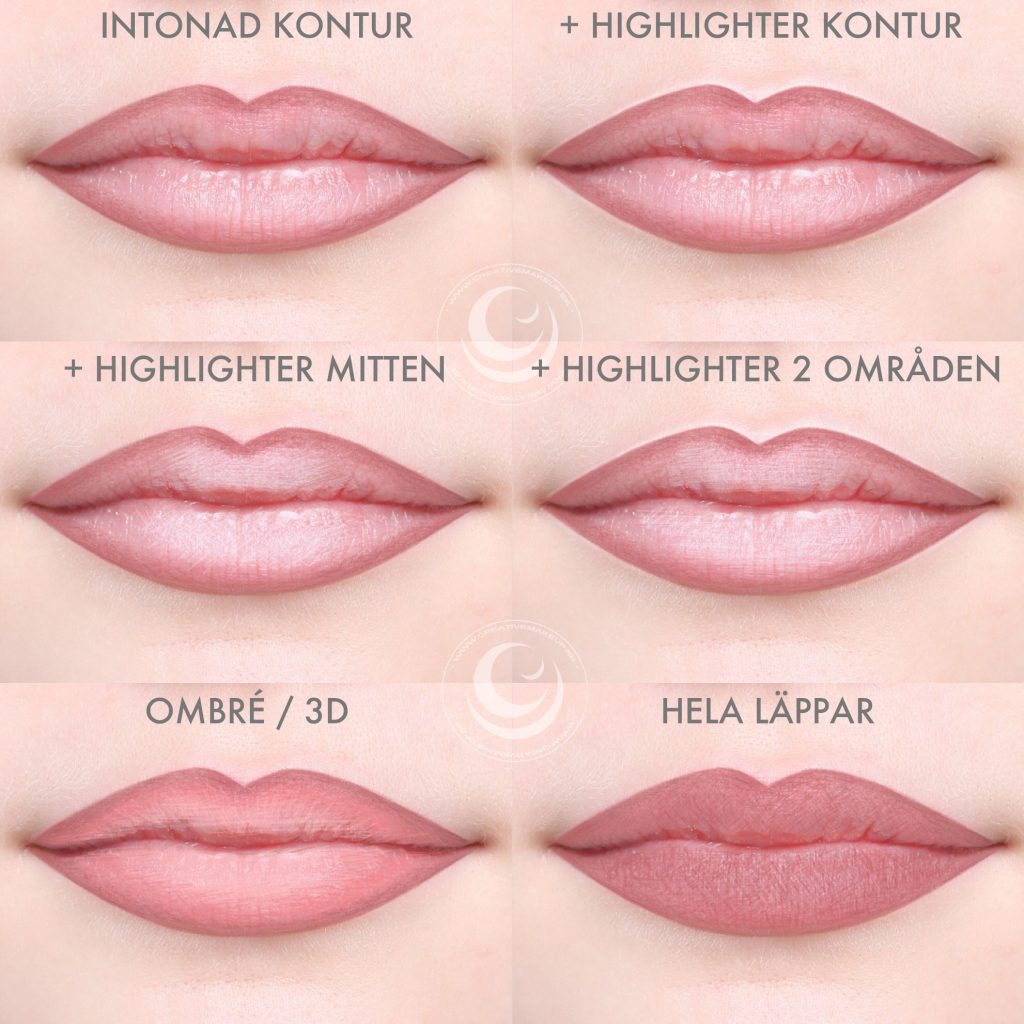
The same is with lips, you can make an intoned contour, 3D / ombre, the whole lips in the same color and add highlights :)
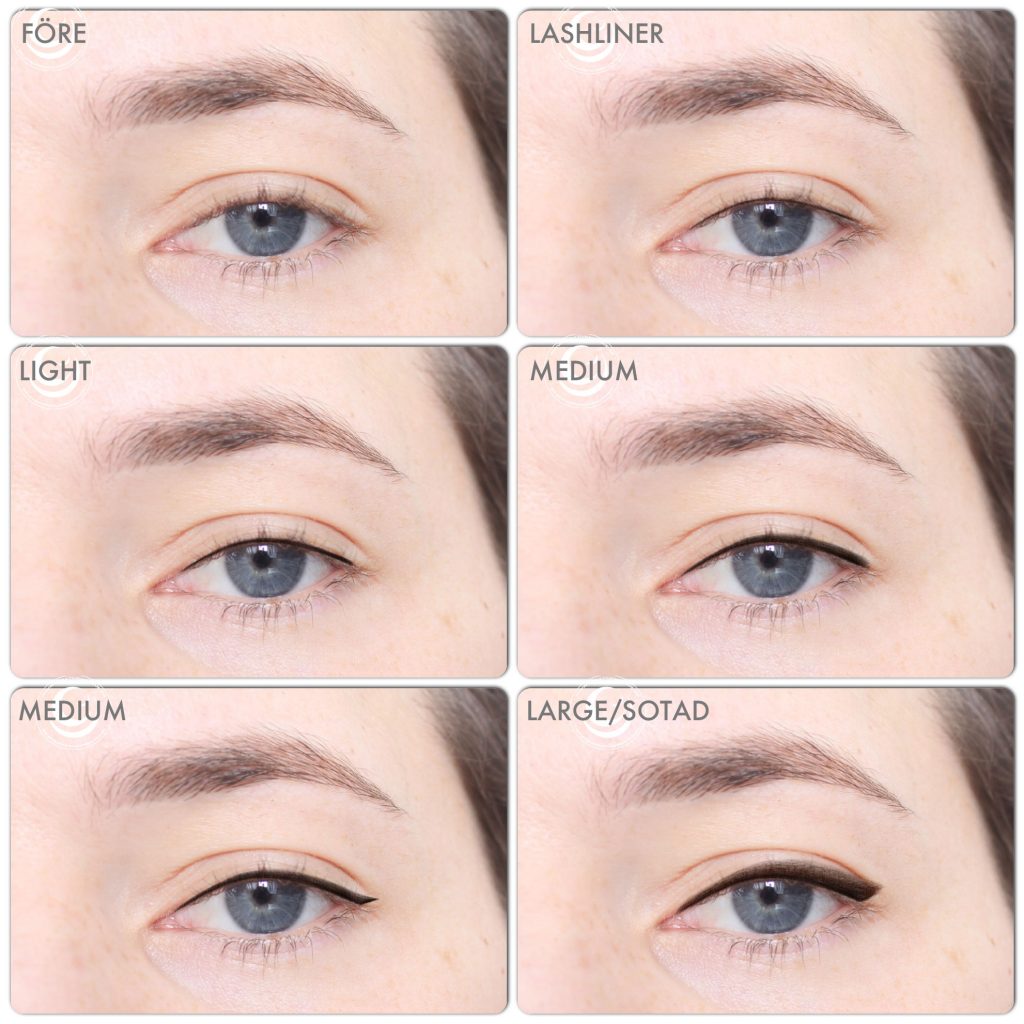
Therefore, I have taken pictures of one eye and lips that Annika has drawn all the variations on so that you can clearly see the difference! Before, we only showed pictures of tattoos that we have done, but when everyone has different eyes, it has not become as clear.
Here is the result:
Surely it is clear and good? :) If you are wondering more about the different variants, you can read on ours website!
Eyeliner LIGHT is actually a new eyeliner that we added when we noticed that there is too much jump between lashliner and medium, there are many who want wider than lashliner (thinnest you can do, right in the lash root, just as narrow all the way) but that they do not want to be quite as wide as medium which is a clear eyeliner over the French edge.
Som sagt så kan man variera eyelinern mycket, alla ovanstående varianter är under prisklassen “Medium”. De sotade är dessutom tvåfärgade i både svart och brunt. Men är man osäker så räcker det att man bokar “Eyeliner medium uppe” eller “Eyeliner medium uppe+nere” så hjälper vi till att bestämma resten av detaljerna på salongen sen :)
Here are the pictures of the different lip variants:
Fint va? :) The color we drew with is quite dark to clearly show the differences, but there are lots of colors to choose from and you can make very light as well or match your own lip color completely if you just want a slightly sharper shape or adjust symmetry.
If you want to make your lips bigger, it goes under the same price range, the only thing you need to decide is one of the above variants :)
Prices and html codes
Doing all variations on permanent makeup has been a teamwork between me and Annika, but what was most work for me was actually to edit the new info everywhere! The website, the price list, the booking system and then explain all the changes to the rest of the colleagues as well.
And when I started rowing I came up with more improvements that we changed, it is not interesting to print exactly everything but I had a long list of improvements that I brought up with Annika and it became a project that took me the next whole day to get ready! Exhaled and felt really happy when I was done :)
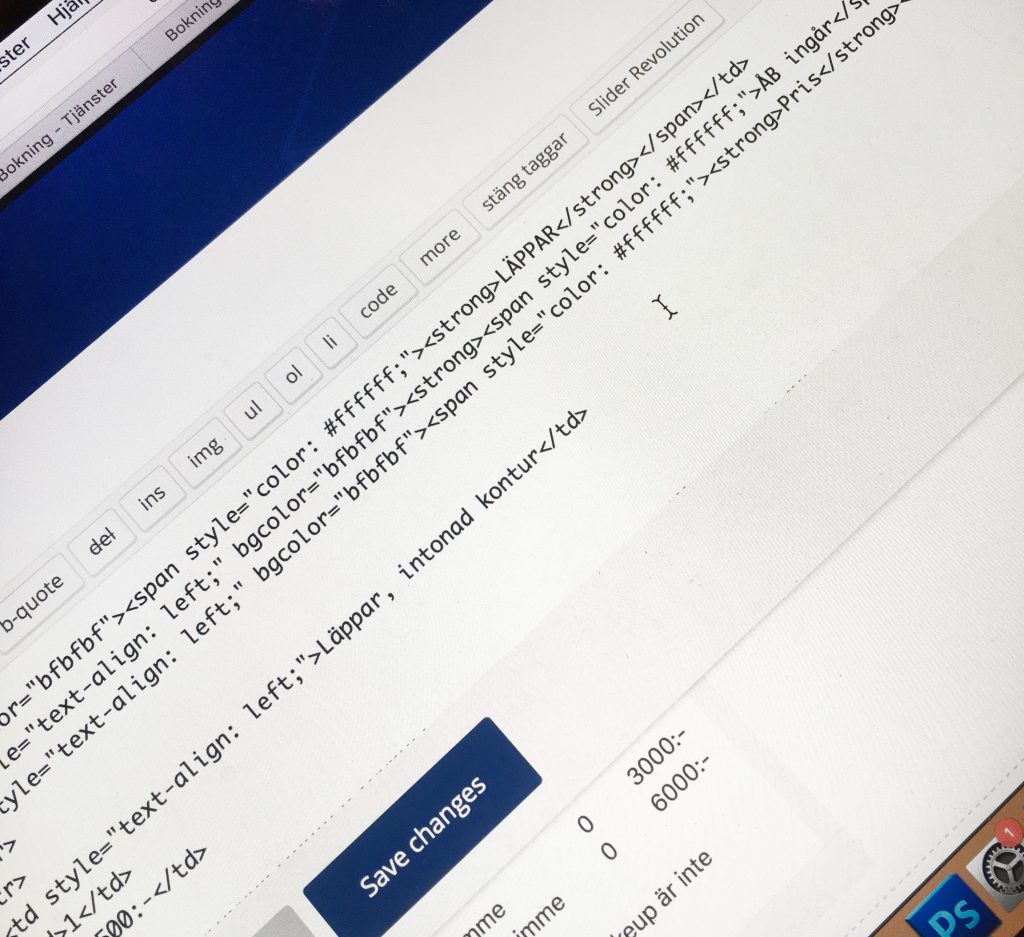
När man ändrar prislistan på hemsidan så gör jag det inte i vanlig text utan i html-koder. Så det är ett litet pussel! Så en enkel punkt som “ändra i prislistan på hemsidan” tar ganska mycket tid.
Problem solving and coding when you sleep!
I feel so good every time I work alone until I go to sleep and think it's so nice to get a lot done on the evening twig, I kind of have nothing against it. But once I go to sleep, I'm up in work mode and find it very difficult to fall asleep. I need a quiet moment in between to unwind my head! And when I finally fall asleep, I dream stress dreams about work instead, like all night!
This is exactly what happened on Thursday BUT the dream of the job still led to a good thing which was a bit fun haha.
It is difficult to explain quickly, but we have briefly different measurement documents where we enter statistics, such as excel, and it is a thing that we have changed, which means that twice a month I need to calculate a little on the calculator, which is not difficult at all but you prefer to just write everything and then the document takes care of itself. Streamlining :)
But in the dream, I came up with a solution with how I could change the codes so that it counted correctly by itself. Sick dream I know, I have not even really put much thought into this. I was so curious when I got to work, realized what I had dreamed and would test if it actually worked, you know dreams are not always so logical, but listen and be amazed it turned out just fine haha!
So happy what I then haha!
Hairology meeting & rehearsal training
This week I have had a meeting with Diana who is our contact person at Hårologi, we meet regularly and it is always just as rewarding! Mainly we talk about how everything goes, plan new trainings (I will for example go to a thing in Gävle in March and in addition our barber will be trained as a hairologist as well) but also we run rehearsals so that all knowledge from the training kept fresh in the memory :)
Because I can say that the education is really useful for food, so repetition is super important even for me who is nerdy and rarely forgets things that are interesting. But there is so much to keep track of with the hair's various crosslinks, pH values etc.
Men framför allt så har detta möte lett till att jag förberett en repetitions-lektion för alla andra hårologer på salongen också! Dom har ju exakt samma utbildning som mig + hjälper fler kunder med Hårologi än vad jag gör, men dom här “nörderi-kunskaperna” som jag grottar ner mig i är väldigt bra att alla repeterar!
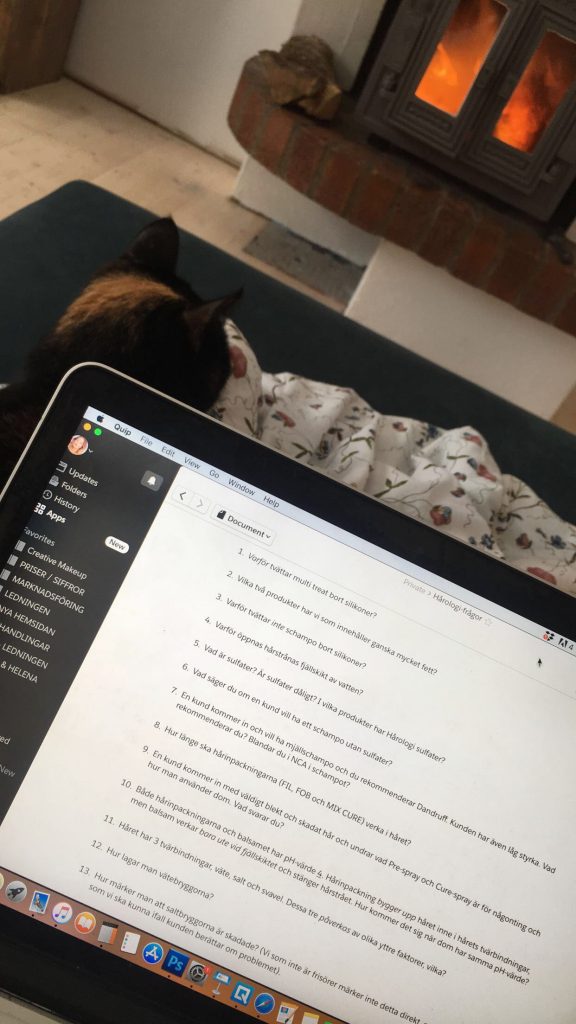
Here I sit with Viktoria in front of the fire and prepare some questions about Hairology! Thought this was unreasonably fun, the most fun thing about talking to Diana is getting to talk to someone who is also passionate about products and is interested in really in-depth knowledge. In this case how the hair works, why makes the products different etc. So much fun!
New month!
This week was a new month again, which means new campaign pictures to be published (and exactly EVERY screen in the salon was a hassle, how sick) and then the salaries from February will be fixed, statistics and budget documents will be made. So I've been sitting with some of that too.
Now I'm going to Uppsala and celebrate my friend Frida's birthday today woop woop!
There are lots of make-up tips for you with glasses, a little depending on what shape the frames have and what effect you yourself are looking for. Here are my top 5 tips that will suit everyone with glasses!
Sätt på dig dina glasögon och titta rakt fram in i spegeln. Vilka delar av ögonen blir gömda av bågarna, och vilka syns tydligt? På de områden där glasögonbågen tar mindre plats så att det är en mer “öppen yta” där kan man lägga lite mer krut med färg och starkare ögonskuggor.
Om du t.ex. har mörka bryn, en mörk båge som ligger under brynet och sen gör en mörk sotning som går väldigt högt upp, då smälter allt ihop i varandra. Det är absolut inget fel med att göra så, men många kan uppleva att det blir lite “tungt” när allt smälter ihop. Då kan man istället lägga en mer “neutral” ögonskugga under bågen (vad som är neutralt beror på vad du har för färg på bågar, bryn och hud) och sen lägga det mörka/färgglada på ett område som inte täcks lika mycket av bågen :)
2. Are the arches light or dark?
En stark ögonmakeup blir mycket mildare när du får på dig glasögon, oavsett vilka bågar du har. Men jag brukar tänka på att om du vill att ögonen ska “poppa” bakom bågarna så ska du välja en ögonmakeup som är tvärtom mot dina bågar. T.ex. ögonskuggor i ljus, skimmer, metallic till svarta bågar. Och tvärtom till ljusa bågar – då poppar ögonen mer av en mörk ögonmakeup!
A safe card if you want your eyes to be visible is always a colorful color! :)
3. Balance on the face
Det finns massvis man kan prata om när det gäller ögonmakeup och glasögon, men man glömmer lätt bort resten av ansiktet. Det finns en del som inte tror att dom “bör” använda läppstift om man har både ögonmakeup och glasögon för att det blir så mycket av allt då. Men det är absolut inte en regel jag går efter! Till en snygg sminkning kan det faktiskt skapa mer balans i ansiktet om inte precis all fokus är på ögonen, utan att du kompletterat med en färg på läpparna också :)
4. Get the basic make-up to hold
The basic make-up can often get dirty on the glasses during the day, which destroys both your good-looking foundation and soils the frames. Apply powder around the eyes when applying make-up! And improve during the day even if you are prone to getting oily. Then your basic make-up is more "fixed" and will not slip around and get stuck on the frames.
And as for the round spectacle spots on the sides of the nose that you get from almost all glasses, there is my best tip to also apply as thin with base make-up as possible. Often you do not have much to cover right there anyway and if you have a thick layer of makeup, it is more visible when it is rubbed off.
5. Eyebrows
Filling in the eyebrows is great to get them highlighted behind the frames! Regardless of whether you have arches where the eyebrows protrude a lot or if you have arches that cover a large part of the eyebrows. On some people it makes a huge difference to pick a little higher below the highest point of the brow to lift them a little, then you get more space between the arch and the brow which lifts the gaze and it is nice to be able to show their nice brows too :)
Then we have gone through my 5 makeup tips for glasses, below you see examples of a makeup with the principles in my tips.
Make-up where you see the principle with the above tips:
1. I have put a lot of make-up under the eye because there is so much space without the frame lying over. On the top I have laid dark but not so high up, so there is still a large piece without eye makeup between the brow and the arch. In addition, the eyelid is light golden (which is not visible in the picture above) so every blink becomes a nice contrast to the frame :)
2. I have added a marking lipstick also so that not all focus is on just the eyes.
3. You also see how big a difference there is in eye makeup when you wear glasses. In the picture without glasses, the make-up feels very strong and party party, but immediately becomes more discreet when you put on glasses.
4. Color! For the eyes to pop, choose the opposite of what the frames are. I do have dark to dark, but as I said, color is a safe bet too! :)
5. My eyebrows are very visible over the arch!
I want to emphasize that everything about glasses is just a helpful tip for you who are unsure or may feel that you do not really get it. There are absolutely no rules or the like that you have to follow.
Hope you felt that the post with 5 makeup tips for glasses was helpful! I have blogged a lot about glasses before but it was so long ago and I often get questions about it so felt it was time again :)
In this beautiful snowy weather, you can not help but be inspired by cold, crispy make-up!
We went to work earlier than usual so I had very little time to put on make-up, so smack on with a blue shadow on the eyelid, got the feeling and put a little green in the inner edge, then a little mascara on it just so it was ready then.
After I added the green detail, I have a hard time deciding if it suddenly became a spring make-up or if it is still considered wintery haha, but I like it very much anyway! All make-up does not have to be so complicated to be nice :)
Lipstick - Paese Matt Liquid Lipstick in the shade (706) on the entire lips and a tiny bit of the shade (707) in the contours to get a little more marked shape.
Blue and green are so heavenly nice together, imagine this make-up in our firm with a little yellow in the corner of the eye too, NICE!
I vanliga fall när jag sminkar mig så brukar jag bara snabbt få min bas “avklarad” så att jag kan börja med det roliga – ögonen. Men den här morgonen var jag på riktigt pysselhumör och duttade länge med varje produkt och gjorde allt i en väldigt skev ordning också haha, började med brynen, sen all täckning, sen läppar, sen contouring och rouge och till sist ögonen :)
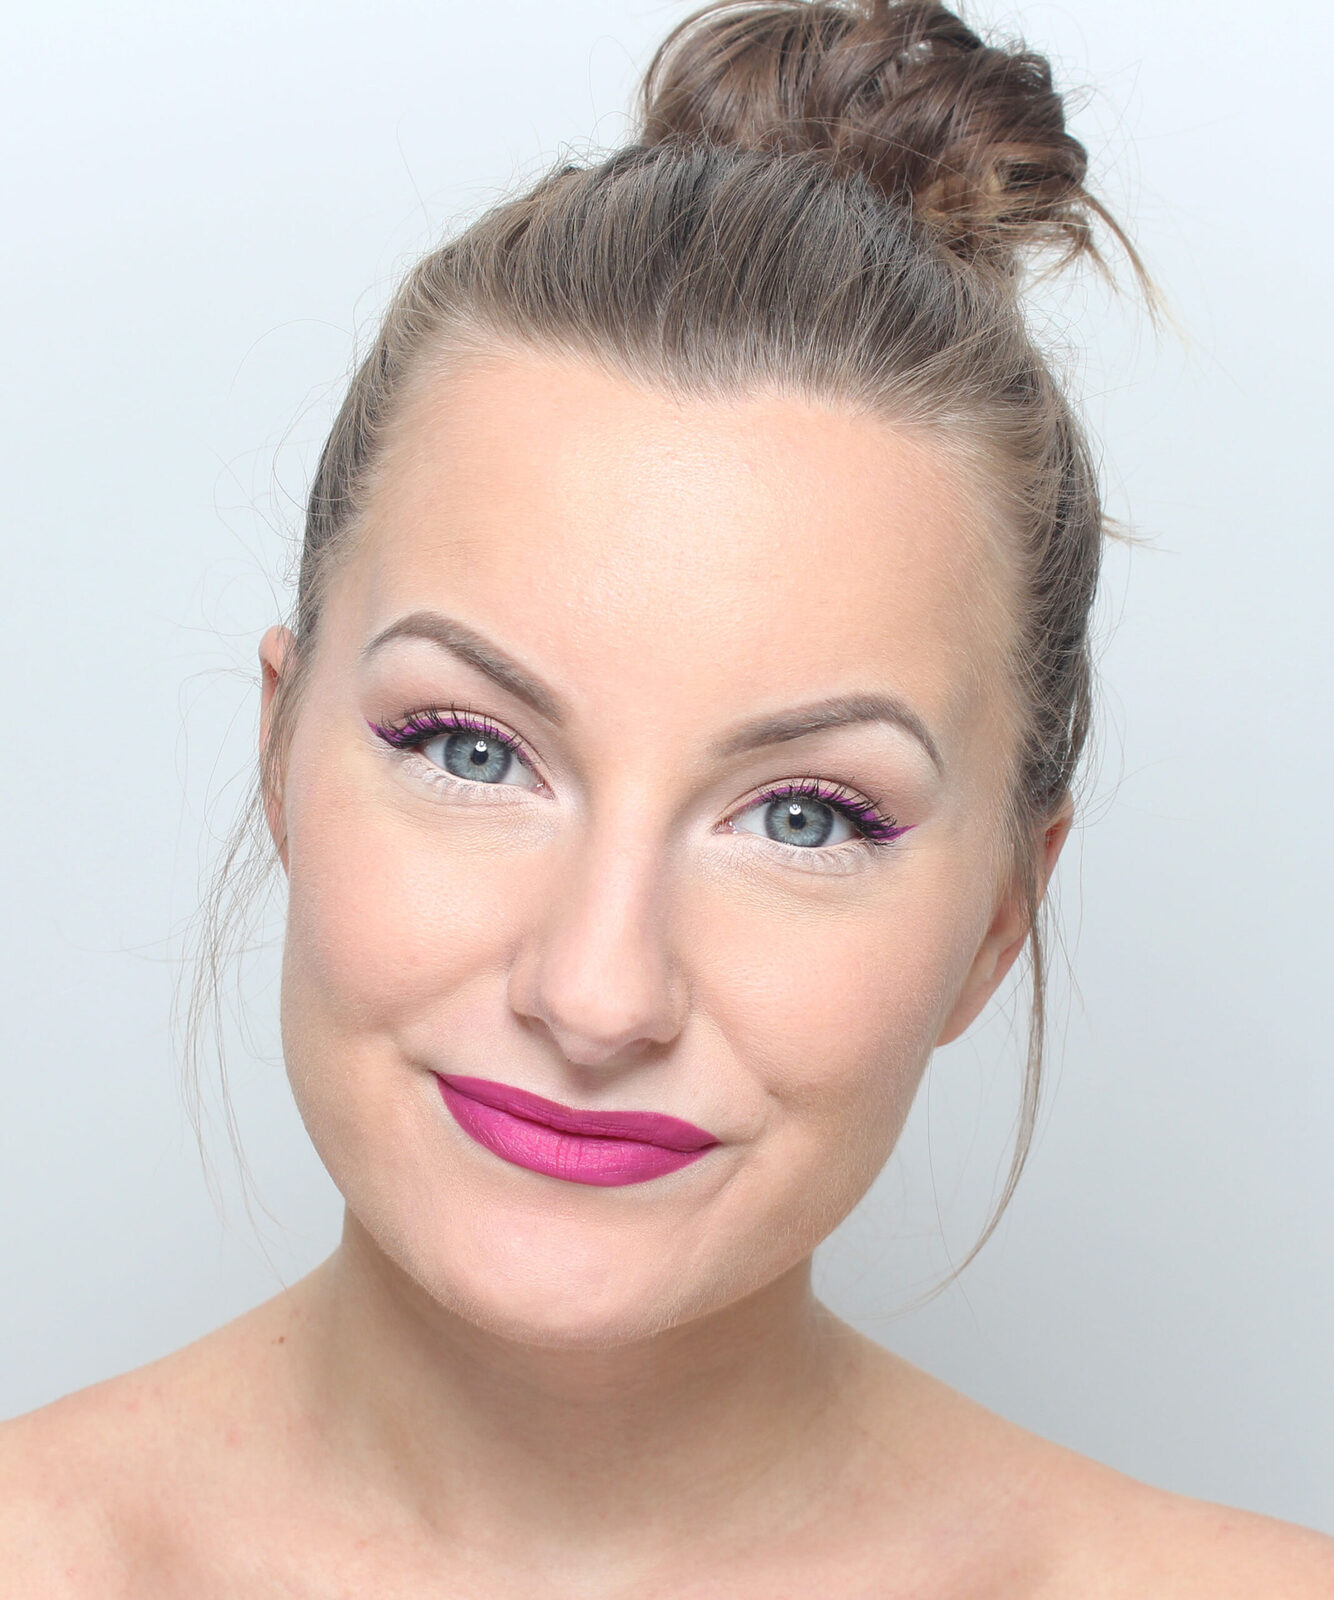
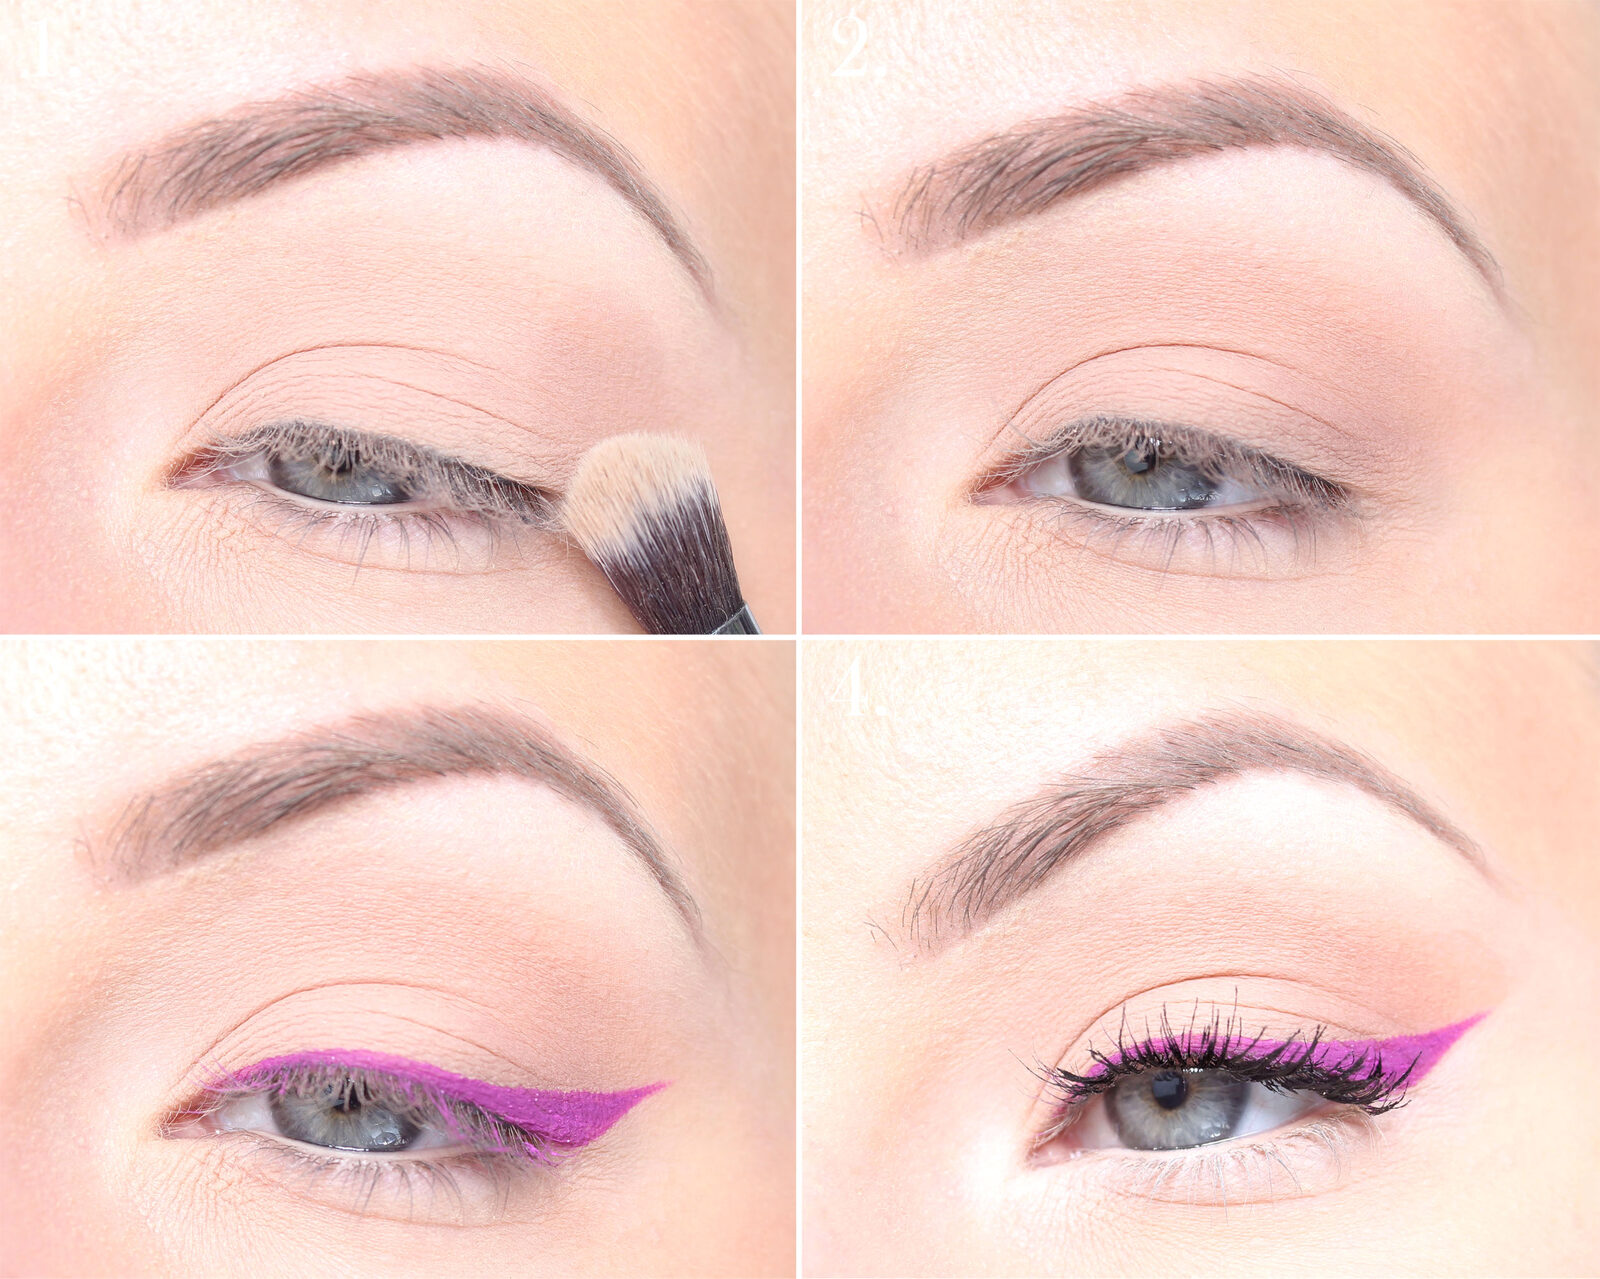
So the whole make-up felt very well done when I finished! But I think it's mostly my own feeling anyway;) Then I did not have much time left for the eyes but I mixed to a nice pink eyeliner that matched crazy well to my lips! Fast and effective!







 English
  Swedish
  Spanish