Vill passa på att inspirera er med fem fina höstnagellack från mitt favoritmärke OPI eftersom jag i oktober har en rabattkod på Parfym.se!
Koden "Helenaokt” ger...
Sweed Lashes Mascara är otroligt omskrivna i sociala medier och här kommer min recension av båda varianterna; Sweed Lashes Cloud Mascara och Sweed Lashes...
Finally, I thought I would show you our self-built campervan / sheet metal / motorhome! Also takes the opportunity to answer what to think about when ...
Finally, I thought I would show you our self-built campervan / sheet metal / motorhome! Also takes the opportunity to answer what to think about when ...
I have been using Manukahonung MGO 600+ for a while to relieve my sore throat and try to get rid of my recurring sore throat / throat infections. So...
I have not had time to do any theme make-up this year, but like this before the Halloween weekend, I thought I would give you another good make-up tip :)
Very many Halloween looks have no specific eye makeup, everything from vampires and zombies to general wounds. Then a really intense smokey eye always works!
However, what many find difficult to use when using such dark colors is durability. How do you get a sweep so dark and intense while it lasts all evening?
1. Eyeshadow primer - in principle a must. Partly for durability but also to get your eye shadow completely black without half being under the eyes or it becoming greyish and flammable. I use Paese Beauty Record Eyeshadow Primer in this post.
2. Waterproof eyeliner - A black eyeliner around the eye and along the waterline becomes the finishing touch, so that the gaze becomes so intense and dark. Feel free to choose a creamy pencil that dries after half a minute and apply two coats! I use Pixi Endless Silky Eye Pen in the shade Black Noir, it turns carbon black and sits like a rock!
3. A good mascara - This applies to all make-up, but above all a smokey eye. If your mascara crumbles or smudges, the sweeping will not look as good at all in the end .. Magnetic Lash Mascara does not crumble, does not smudge and is water resistant. But as long as you have hot water, it is easy to wash off!
Here is a news item in my web shop Creativemakeup.se which I have been longing for !!
The new eyeshadow primer Paese Beauty Record!
Beauty Record complements the primer range
Jag har länge sökt efter en till bra ögonskuggsprimer att komplettera webshopen med då jag ibland önskar en som är lite mer “limmig” än den från Pixi som vi redan säljer. Med limmig så menar jag lite blötare (?) i konsistensen (utan att bli klistrig) för att inte only make the shadows adhere well and last a long time without also getting a little more powder in the pigment! For example. if you use shimmery and more metallic shadows, the effects can be highlighted by a slightly wetter base, so you do not have to moisten your makeup brush :)
Meen I'm so damn picky when it comes to primers .. I've really tested a lot. We already sell Paese, Kryolan, glo Skin Beauty e.g. and all of them have eye primers in the range already before but which did not appeal to me. I have also tested other brands that we could become resellers for but njaa ..
Either they dry too fast, if they do not, they are too sticky / uncomfortable or difficult to work with because they are too wet (then the shadows attach a little too hard and it is difficult to get soft fades). Or they do not pass the durability test from morning to evening, but the shadow is still a little wrinkled on the evening twig.
Until now - Paese launches a NEW primer! So yes !! Here we have it!
Packaging
The package is a tube with an applicator in the cap.
Formula
What I like most about this is, as I said, the formula and that it makes the eye shadows more intense.
Paese Beauty Record Eyeshadow primer is sticky without being too wet or sticky. It is easy to work with and feels comfortable on the eyelid. The pigments become more intense but still adhere reasonably hard so that it is possible to fade out and get smooth edges.
Not only that, the primer also contains microalgae (Cylindrotheca Fusiformis Extract) which helps collagen production in the skin and thus can help against fine lines and keep the skin more hydrated. Perfect for an eye product!
The color is transparent, a little beige toned but not so much that it becomes beige / opaque on the skin.
Application
Apply a thin layer on the eyelid with the applicator in the cap.
I do not skimp but do not lay thick at all either.
Then I dabble with my finger!
Tip! If you are going to make a soft fade with dark shadows, e.g. a smokey eye, you can wrap some powder in the edge where the fade should be. So not on the entire eyelid but only on the edge! Then the primer is not as moist there = it attaches less pigment = you can even more easily fade out the shadow.
sustainability
The most important thing of all - the make-up like a slap until you wash it off in the evening!
Results
The result is thus:
Easier application of eye shadows - thanks to the fact that they adhere properly. You get both precision on small areas and nice fades at the edges!
Nicer eye makeup - The eye shadow becomes more intense in the pigment and if you use shimmery / metallic shadows, that effect will be stronger as well.
Durable makeup - your make-up lasts from morning to evening!
Here you see the same eye shadow on dry hand vs on this primer. Difference;) Then the eyelid is seldom as dry as the back of the hand, so this shadow does not get really chewy on the eyelid if you skip the primer. But there will be such a big difference in the shadows if you compare dry and creamy!
The difference between Pixi and Paese?
As I said, we also sell Pixi Eye Bright Primer and the biggest difference is two things: Pixi is a thicker and softer cream and Paese is a little more liquid and wet. Both of course work for both light / dark make-up, but if you do more discreet everyday make-up, Pixi may be a little easier, but if you want proper gunpowder in shimmer shadows, etc., Paeses is a little more effective. In addition, Pixi is more opaque beige (still does not have to match the skin tone because it is covered with shadow) while Paeses is transparent.
click here(link) to buy Paese Beauty Record Eyeshadow Primer in my webshop creativemakeup.se! :)
And if you have any questions, as usual, just shout!
At the time of writing, I am sitting in bed with my floral bathrobe, a coffee cup in my hand and my cat Viktoria in my lap, so cozy!
Inspired, rested and happy, I would say that my feeling is. Harmonious at the same time as I am peppered as well! That kind of thing goes in waves but right now I feel incredibly good :)
Makeup LABB !!!
I do not know if you understand how fun I think it is to test products? I have not reviewed so much in the blog lately due to lack of time, I have to prioritize and it takes time as I nerd myself in every product, can not test things half-heartedly and my reviews are always quite long :)
That I have become good at make-up and beauty is due to 100% that I am interested in products, the artistic and creative is not something that comes naturally to me, I have practiced that.
The hard part about getting really nerdy, however, is that I can only test / feel the ingredients in finished formulations and google for information. I know all the usual ingredients such as mica, various silicones, iron oxides that give pigment, nylon-12 and everything that is available, etc., but how do they feel completely alone? What is the difference between the different silicones? What will be the effect for real as well as?
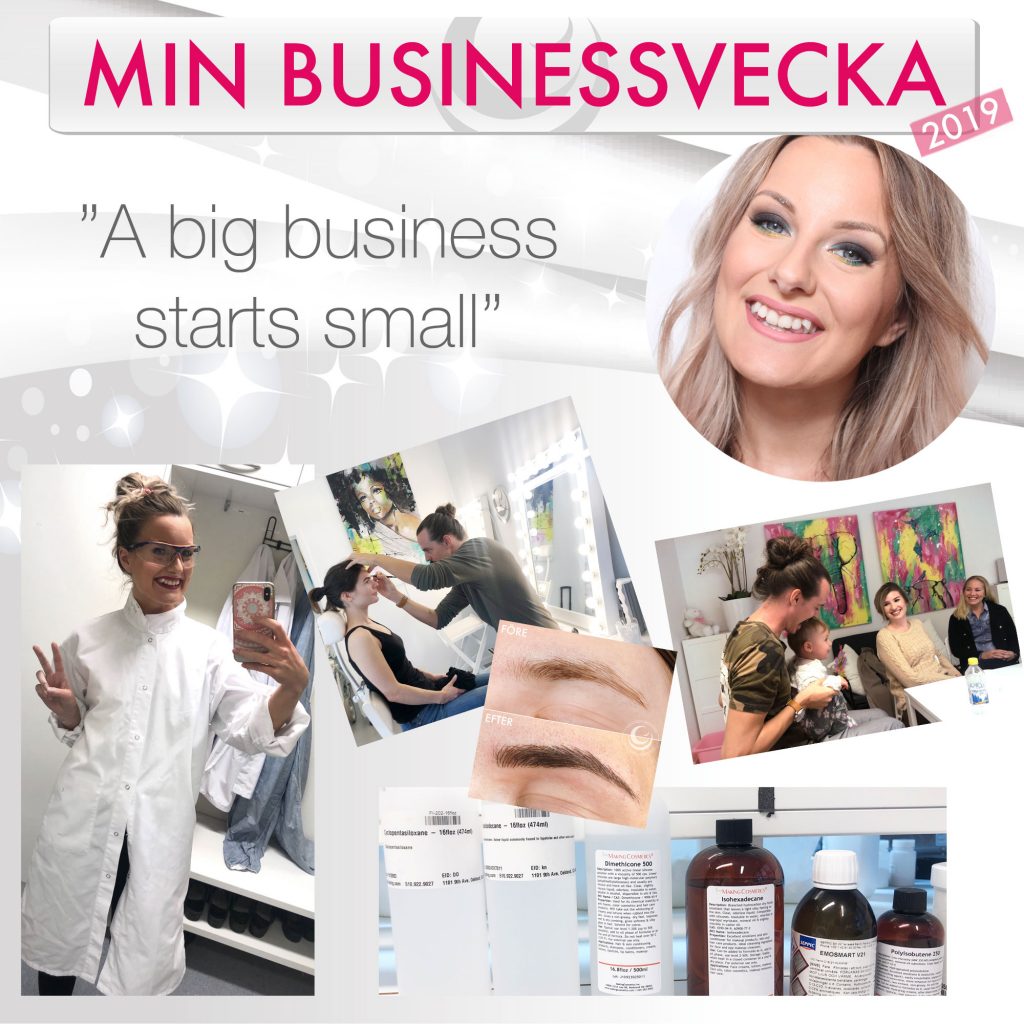
You can guess how much fun I had last Thursday when I booked a half day in a lab and got to do just that - learn more about the most common ingredients, feel, compare and nerd myself to the max! Heaven !!
This is research for my upcoming make-up brand I am working on developing, it is completely in the start-up phase but I am investing fully so that it really gets rid of!
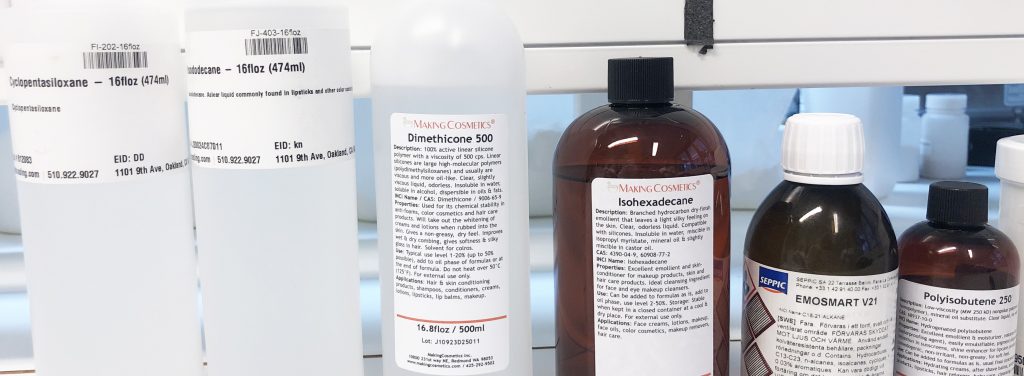
I am not allowed to take photos from the lab of the very cropped image, but here you see a bunch of different silicones that I got to learn more about and feel the difference in everyone. SO useful info!
Then I made some of my own formulations based on what I tested during the day and now I have my FIRST TESTS at home that I will put to the test! So the first product samples for my own make-up brand, they are not only sent from a manufacturer but I have, as it were, made them myself!
Det vanligaste sättet (tror jag) är att tillverka sina egna formuleringar direkt med producenten, men det här gör jag för att snabba på processen för det är ändå en producent som kommer göra den färdiga formuleringen sen. Men om man kan säga direkt vilka ingredienser man vill ha + lämna med ett prov på hur man vill ha formulan – då är det väldigt enkelt för producenten att ta fram det man önskar. Till skillnad från att bara förklara “jag vill ha den känslan, den pigmenteringen i en sån här typ av formula” då är allt lite av en definitionsfråga och de första proverna från producenten kan vara ganska långt ifrån det man önskar.
Här står jag i “slussen” innan labbet där man får byta om och lämna sina saker utanför. Proffsigt ut i fingerspetsarna :)
It has not happened so much physically really, but purely mentally and in terms of planning, I have come a long way in a short time! I have established contact with two packaging manufacturers and am almost completely sure already exactly how I want the packaging. I also know which products we will start with (and which will be new) and in addition to graphic design, I know the entire start range! I have also calculated how much investment we will need to get started and approximately what prices and margins we will be able to have.
För bara några veckor sedan kände jag “var och hur börjar man?” för jag hade bara lösa trådar. Men nu känner jag plötsligt att jag har jättemycket jag kan sätta tänderna i redan nu! Är verkligen redo att kavla upp ärmarna ordentligt! :)
Work with children
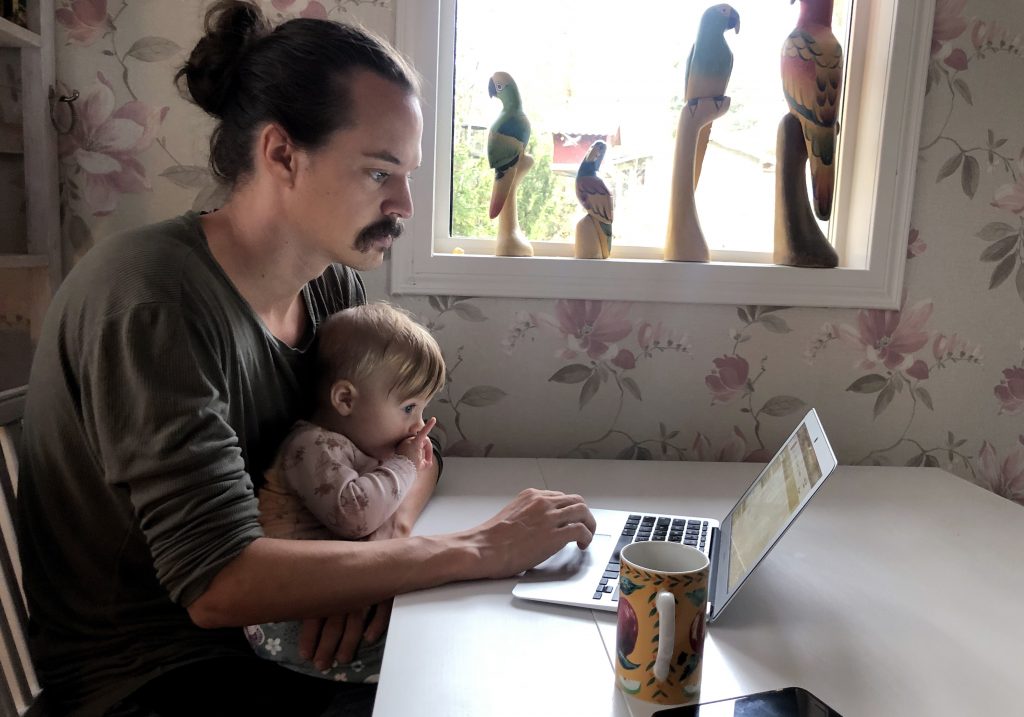
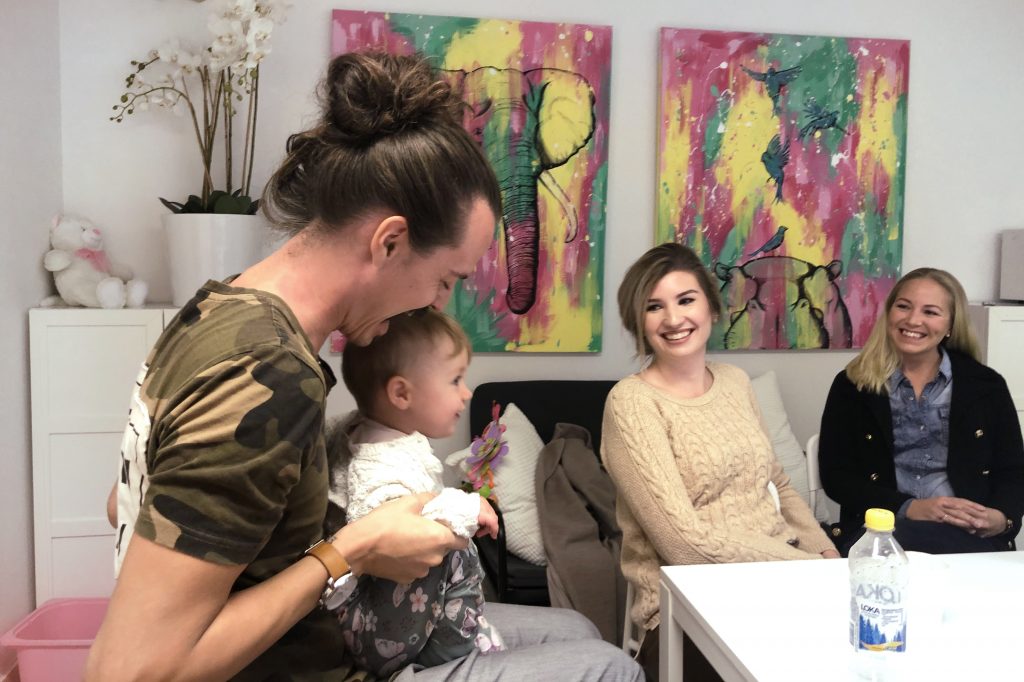
Lately we have cared for Mileya a lot too! Partly when Annika worked, but I also had her alone when Miska practiced eyebrow tattooing because then Annika is with me.
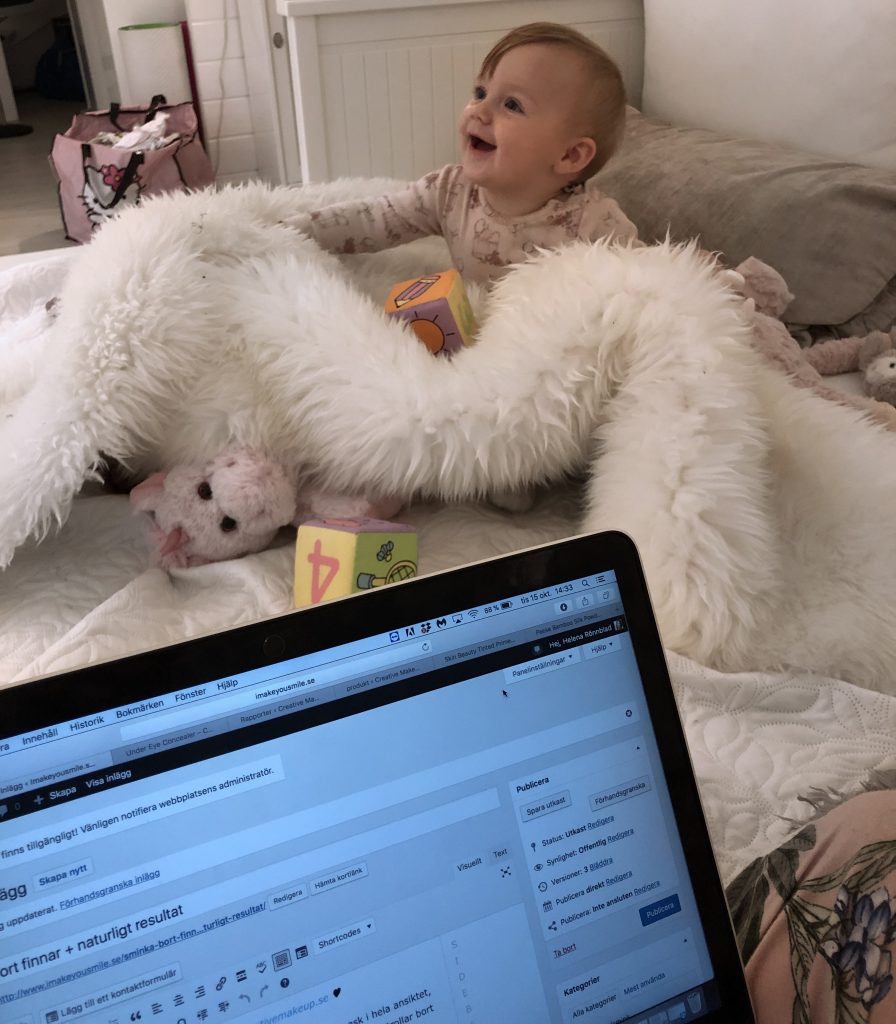
It's fun to be with Mileya but it takes a lot of time and focus too, we sometimes try to work at the same time but it works for a little quick emails and fix pictures and such simple things, you do not become very efficient right away;)
Here Miska fixes some stuff with our website!
Here I am writing a beauty article for our web shop about making up pimples with products we sell. You can read the post here!
And here we have a staff meeting haha! We had both a group meeting with everyone and individual meetings with each person :)
Work to catch up on weekends and itineraries
I did not write a Sunday post last week because we went to Finland on Thursdays so it was still only three full working days. Next week we will go there again so due to that + childcare I have worked all weekend also to work to catch up!
Egentligen är jag bara sugen nu på att ha helt obokade veckor och jobba från morgon till kväll varje dag. Jag har så mycket motivation! Men samtidigt är det viktigt att inte alltid tacka nej till andra saker för minnen, relationer och upplevelser är också jätteviktigt för ett lyckligt liv :) Jag måste ofta påminna mig om det, t.ex. i somras när vi egentligen hade superlugnt med saker så frågade Miska om vi skulle ta en promenad och gå och bada och jag svarade “jag har verkligen inte tid” och det grämde mig ett tag efteråt (och sen gick vi och badade senare faktiskt) men jag kände liksom, vad håller jag på med? Jag jobbar hemifrån, det är jag som gjort min egen långa to do list för just den dagen, det var en vacker sommardag och jag kan jobba på natten om det ska vara så. GÅ och bada! Haha!
So in other words, there are some planned now that take time and focus from my work days but I have to be extra efficient the remaining time instead!
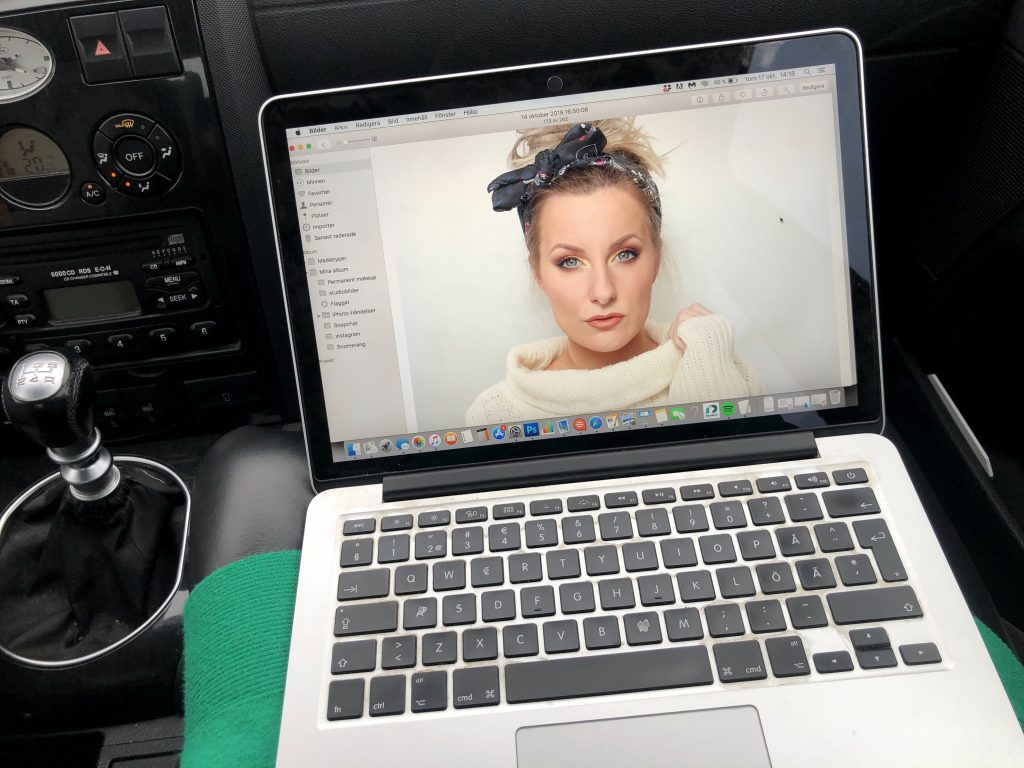
Here I sit and fix pictures in the car on the way to the Finnish boat. I have a hard time working in the car because I get sick easily if I look down, it's such a shame because it would have been the perfect time to take advantage of!
Miska continues with eyebrow tattoos!
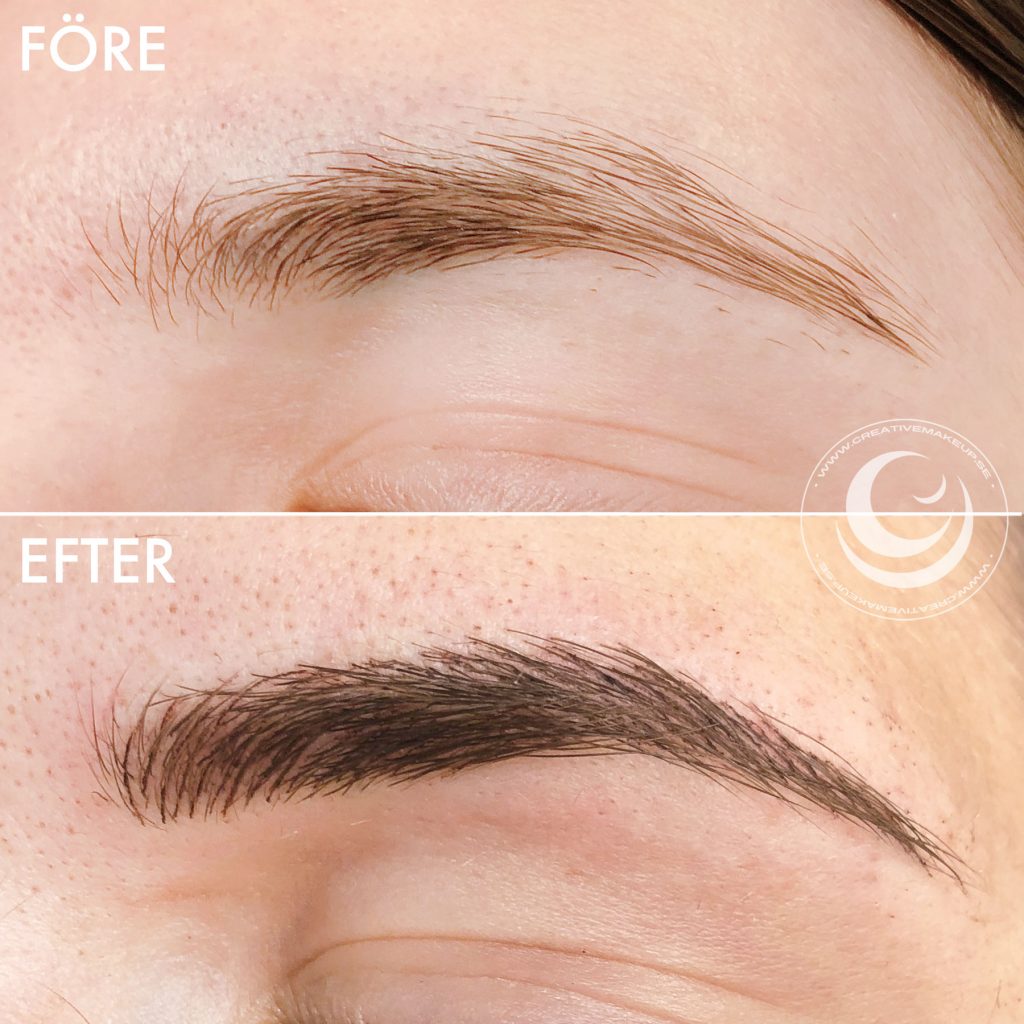
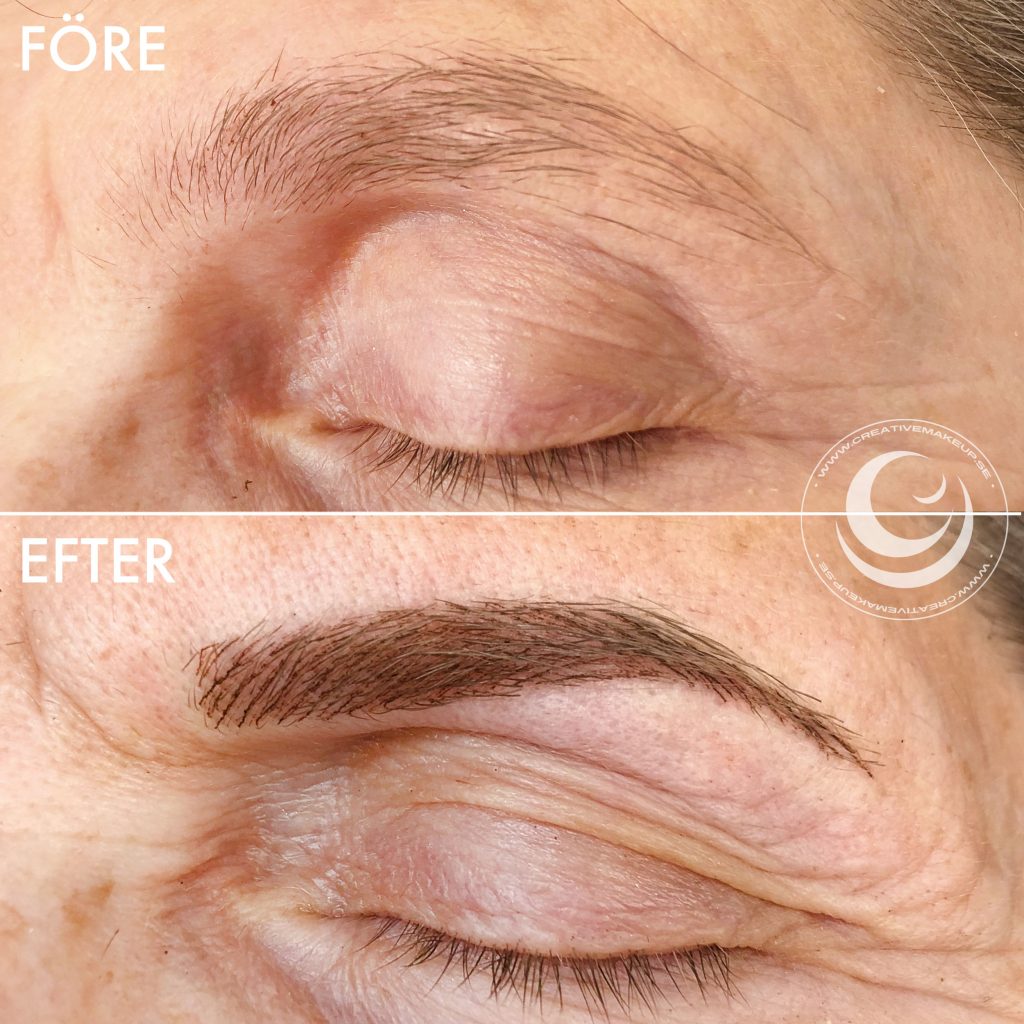
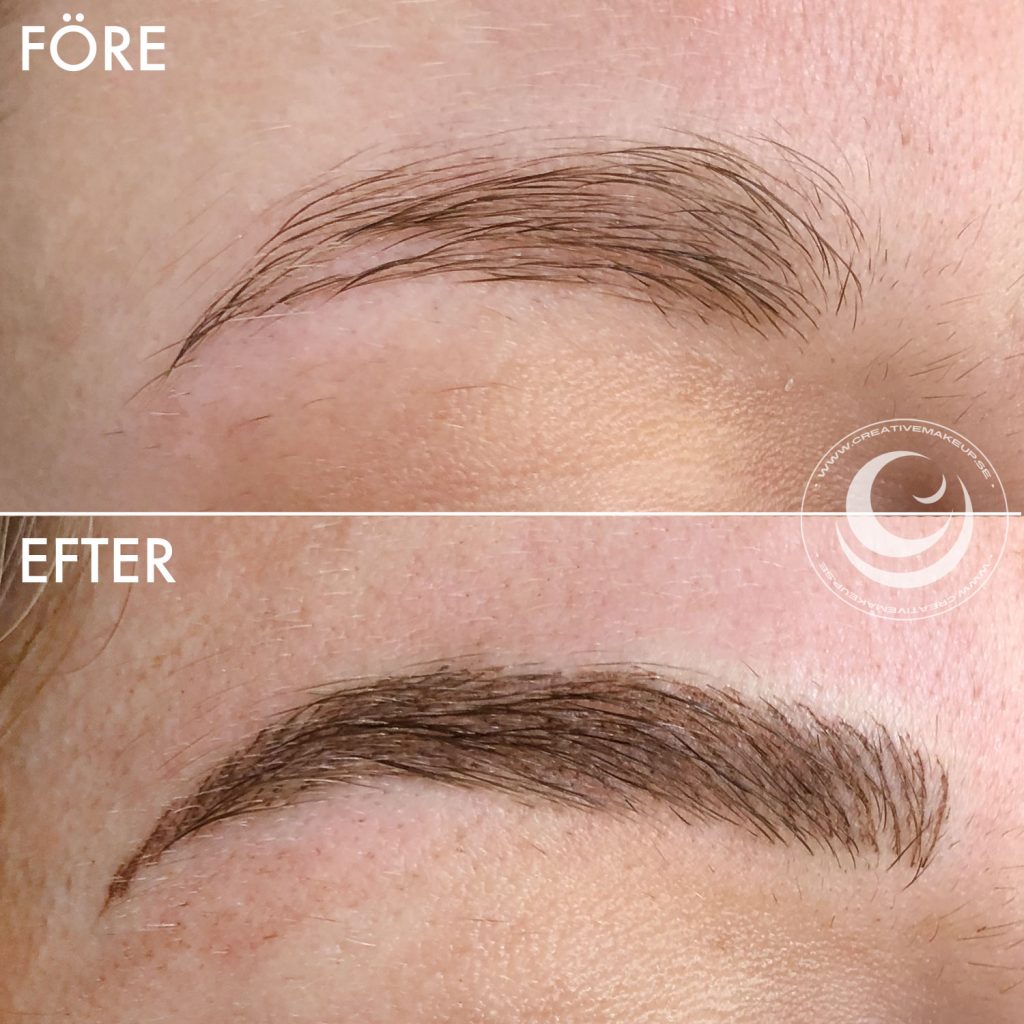
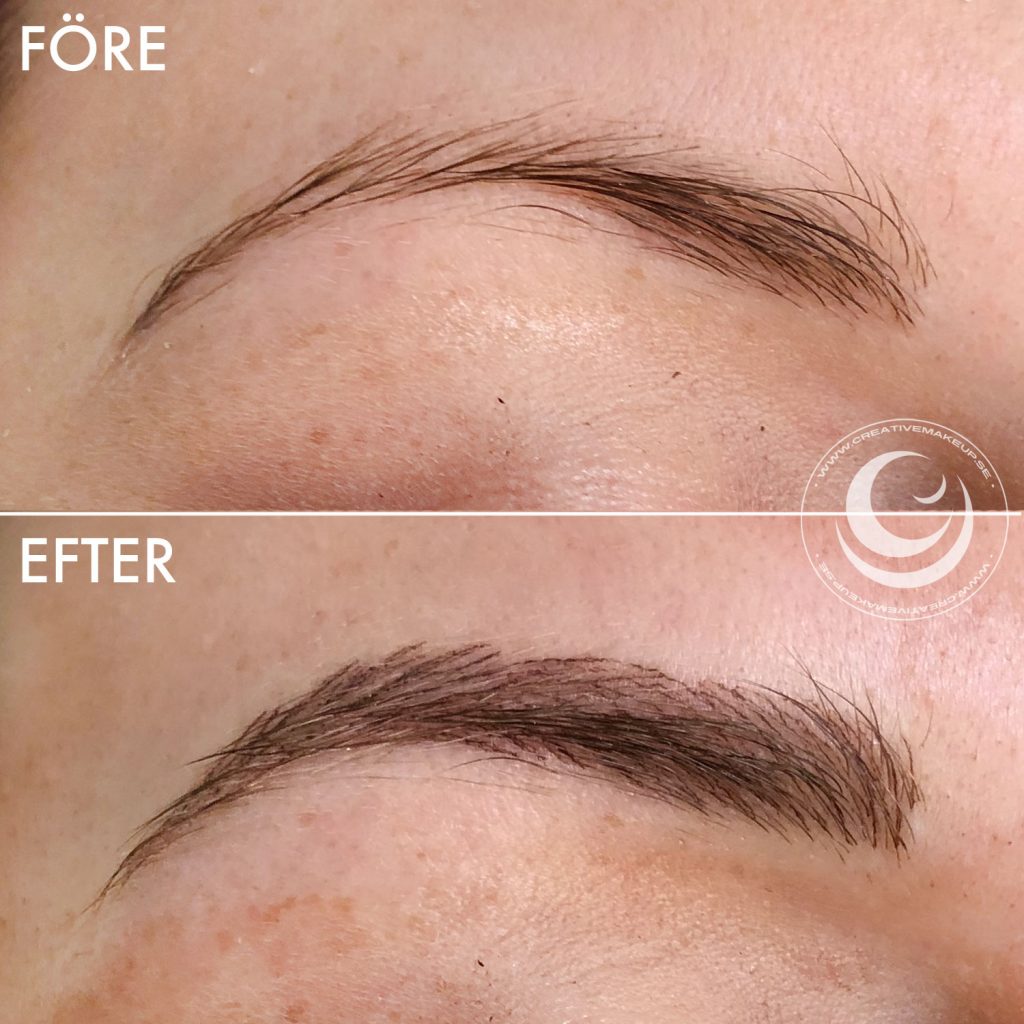
Our price for permanent makeup 3D eyebrows with an apprentice is SEK 3,700, but right now in the beginning Miska takes SEK 2,700 and is already fully booked with customers for that price. On the other hand, he continues to offer before he goes up in full apprenticeship price and it is possible to book an appointment with him for SEK 3,200 now!
Email him at Miska@creativemakeup.se to book an appointment. Only a new tattoo as people who have done a tattoo before at another salon can be too difficult if you need to correct, but you can email a picture to him if you have a previous tattoo so he can decide if you can book in or not :)
The same day that I published the last Sunday post (but wrote it in the morning so this did not come) he had two customers from Uddevalla who went all the way to Uppsala to be tattooed by Miska!
Here he is drawing the shape of one of them :)
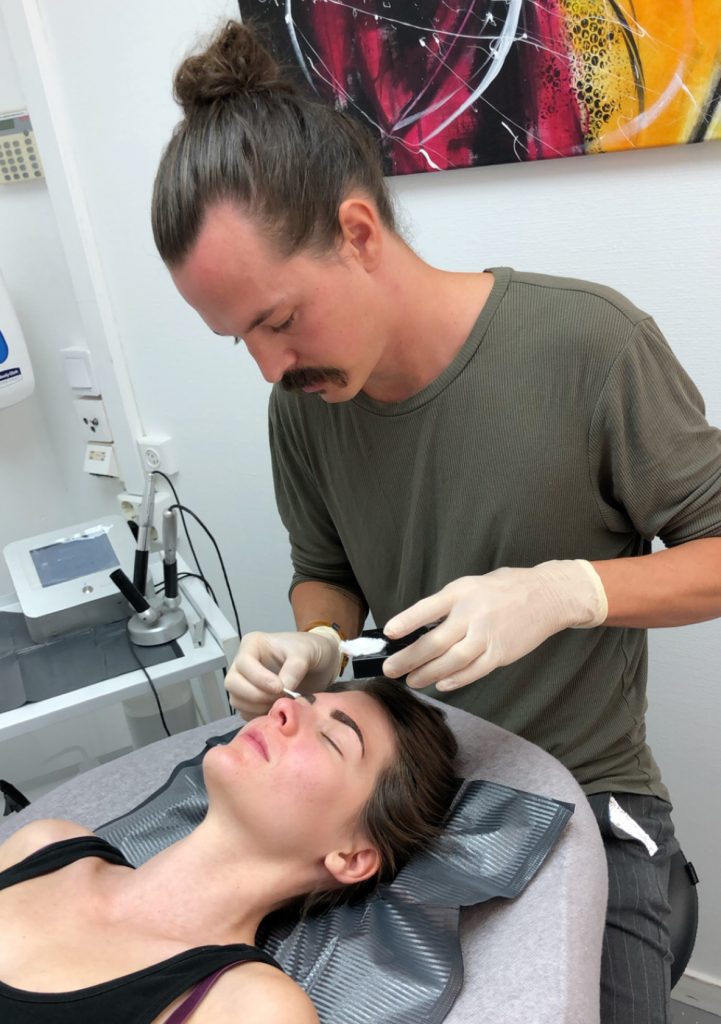
And here he is doing tattoos! It looks like a cake in the picture because there is so much tattoo color on it :) You can put it on while you tattoo on the other edge so that the color will sink in a little extra where you got the tattoo.
And here is the result:
Her mother was also involved and here is the result:
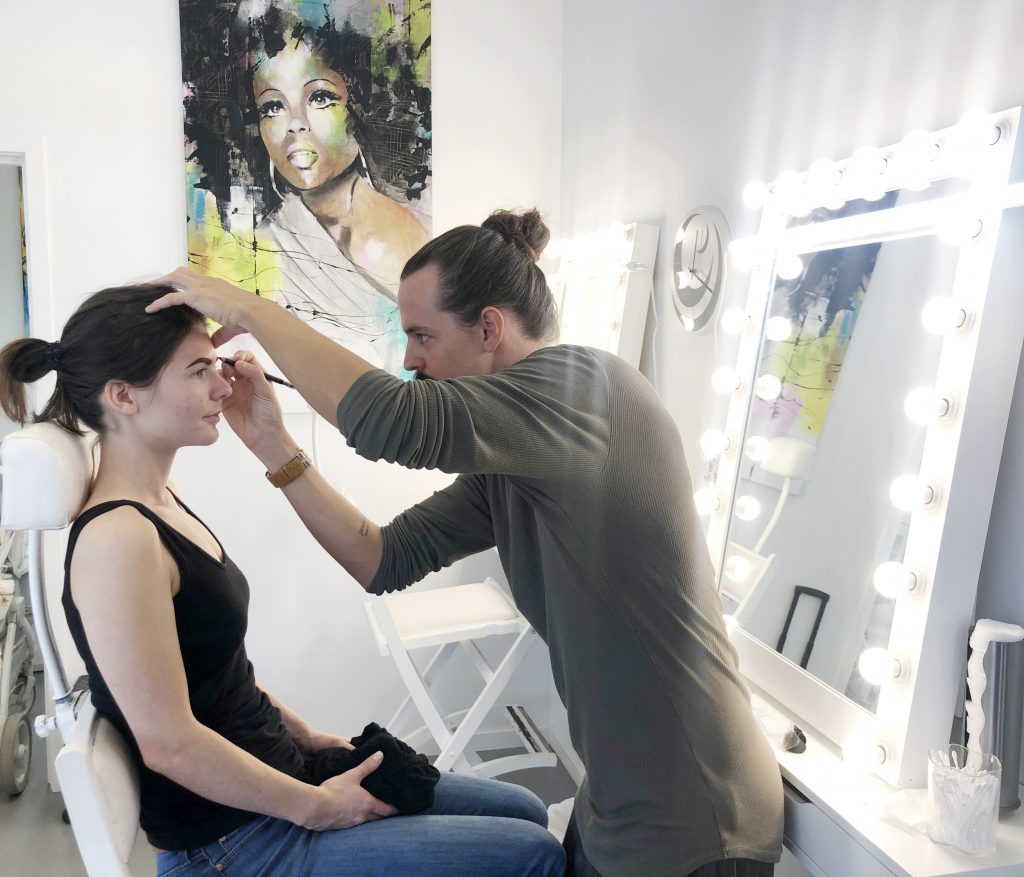
Then he had his first test persons where Annika did not have to be present! But then Ida or Olga is at the salon so he is not completely without support :) And I helped and approved the brow shape as well, I can not tattoo but brow shape and symmetry there I can support a lot!
Here are the results after the tattoos:
Fint va? :)
Det blev lite missförstånd mellan mig och Miska när jag frågade efteråt hur det kändes och han svarade “Det är jättekul! Känns jättebra! Jag behöver hitta djupet nu bara” och jag trodde han pratade om sitt konstnärliga djup eller liksom djupet i 3D-effekten, men såklart pratade han om hur djupt man ska tatuera ;)
It's not only that the straws should be nice but it should stick and be even as well! Soon he will start receiving the return visits from his tattoos and it will probably be very instructive!
Grateful for my customers!
Jag har en stamkund som gått hos mig i över 4 år nu (snart 5 år tror jag?) och förra gången hon bokade tid hos mig så sa hon “den dagen fyller jag år!”. Jag kunde ju då inte låta bli att förbereda en liten present till henne ;)
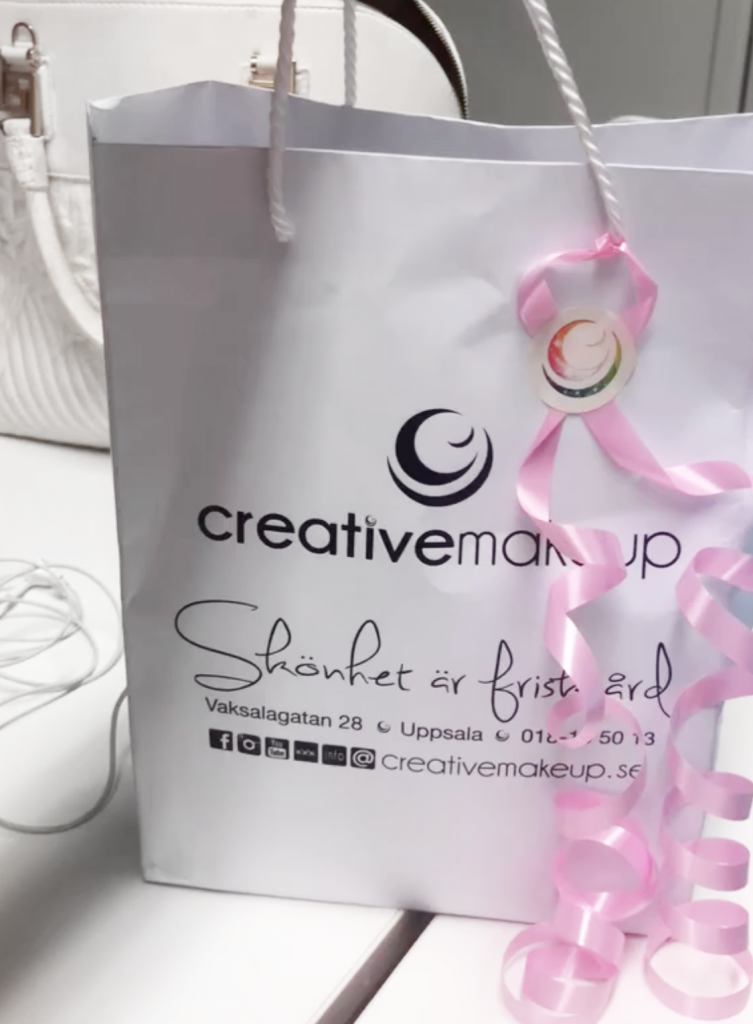
Since I do not review products to the same extent anymore and do not actively seek news for our own range, I do not receive work samples to the same extent anymore. But I have saved a lot since before (even though I did a major cleaning a year ago) and picked up a nice goodie bag for her as a birthday present!
She was so happy! Both because I remembered her birthday but of course for the nice products :) Great fun!
Would take a nice picture of it but forgot because it was so full before, but it came in the background of a video I filmed so just took a print screen on it haha.
So that was the corner week! I have had pretty good statistics in the blog lately and want to say BIG THANKS to all of you who follow me! I am so happy and grateful!
Have a nice Sunday and a good start to next week!
I myself will read my horoscope now for the coming week and then I will continue to work a little.
The day before yesterday I had a customer at my salon who wanted help with her eyebrow shape and got the eyebrows symmetrical, so she booked eyebrow pick + color from me.
Her wishes:
More symmetrical brows, one was shorter and taller than the other
Wider eyebrows (but understand that she needs to save a little more straw first before it becomes perfect)
More well-shaped eyebrows, they were quite straight and sloping
Get help with how she should put them on every day
Here is the result after eyebrow picking + color and filling with the eyebrow pencil Micro Brow Liner (shade Dark brown) from the brand glo Skin Beauty:
More symmetrical brows
Sometimes you are hungry but unfortunately I can not conjure more straws there, if you do not book a brown tattoo;) However, in most cases it is possible to make a big difference with small means!
If you have wide eyebrows and can imagine a narrower shape, it is relatively simple. But the majority already have narrow eyebrows (because most cases of asymmetry are due to having overpicked the eyebrows on themselves) and then you have to create symmetry with small means.
It is different from case to case, but on these eyebrows I did this:
Made the left edge wider at the top with paint + pencil (which is lower)
Cut the straws at the top of the right edge (which is higher)
Extended the shape of the inner edge of the right edge with a pencil (which is shorter)
If you do not want to fill in the eyebrows with makeup, you can not make symmetry changes with pencil, but if the person wants wider eyebrows in the long run + still want to fill in the eyebrows myself at home, I usually prefer to save the eyebrows a little asymmetrical after picking and color for to eventually make the straws grow into a better shape. And instead show tips on how the person should put on eyebrows while they are being saved :)
The customer must therefore decide whether they 1. want the eyebrows as symmetrical as possible already today, 2. can imagine continuing to have asymmetrical eyebrows for a while until you come next time, 3. or learn to fill in the eyebrows yourself so that they are symmetrical and nice even though they are being saved.
Wider shape
På vissa ställen sparar jag strån som precis nu ser utan att sitta “utanför formen” men som nästa besök kan bakas in i formen. Det är så man måste göra för att spara ut brynen! Man får tänka lite långsiktigt.
With brow color, you can create the illusion that the brows look wider by coloring in small straws that are around the brow and are not visible before. It often gets sparser in these places, but you at least get a shape that is easy to follow if you need to dab a little with a pencil!
More well-shaped eyebrows
Det vanligaste man behöver göra för att få brynen mer välformade (mindre raka) är att göra dom lite bredare i överkant så att man får högsta punkten ungefär i mitten av brynet. Det är också där många har glest med strån och därför “glömmer bort” den delen av brynet.
But it can be incredibly different on different brows! It is very common for the person to pluck the eyebrows a bit like a floorball club, with a high turn in the front and then the eyebrow slopes a little down. Then it needs to grow more at the front edge, at the bottom edge and at the highest point. It will thus be a larger project that requires more visits! But I actually have a customer that I regret that I did not take a model on the first visit, because now that she has been with me for a while, it really is a completely different eyebrow! Great fun :)
Make up your eyebrows at home
When you book eyebrow treatment with us, you always get (if you want) tips on products and how to do when filling in your eyebrows at home later. You can use pencil (we have more different varieties and colors), shadow, gel etc. Pencil works on everyone but shadow we usually recommend on people who have a little denser eyebrows from the beginning.
In this post(link) there are more tips and step by step on how to fill in your eyebrows!
Here you see the eyebrow by eyebrow color but before makeup as well:
There you see (in the middle picture) that I dyed some small straws that are out of shape at the highest point and in the lower edge at the bottom of the brow - she has to fill it in with a pencil for so long!
In fact, she booked a lash lift + lash color with my colleague Ida afterwards too!
So in the end, her eyes looked like this:
Very nice! A mother of 3 who wants to start dressing up a bit again, then it's perfect with fixed lashes and eyebrows! Even if she will fill in the brows with a pencil, it is extremely much faster to follow the shape now than the shape of the brows looked before :)
Hope you liked a more detailed post on how to make eyebrows symmetrical and not just that I showed before and after pictures! If you want to book at my salon (my colleagues are super good!) You can easily do it online creativemakeup.se or call us on 018 10 50 13.
Have a nice Friday everyone! Personally, I will sit in front of the makeup mirror now and try some makeup that I did myself at a LABB yesterday! Samples for my make-up brand I work on iiiiiiiih it's so much fun !!!
My new go-to make-up that I do almost every day now (when I'm not taking photos for the blog) is super simple. It is so simple that it hardly requires a step by step description, but I have made a simple tutorial anyway so that you can clearly see which steps I do!
This is what it looks like:
Even though it is simple, you feel smart and nice both for everyday and more festive events depending on how you style your hair / outfit :) And you can choose different lip colors depending on.
Black shadow smeared over the lashes, quickly sweep with bronzer along the globe line and shimmer or glitter in the corner of the eye. Clear!
Then it's just base, eyebrows and lips as desired :)
Jag skippar faktiskt ögonprimer om jag inte ska ha sminkningen från morgon till kväll, eftersom jag inte har skugga på hela ögat så det lägger sig inte i vecken mitt på ögat ändå. Men det beror också på vilken ögonform man har, om huden “gnuggar” mycket när du blinkar så rekommenderar jag alltid ögonprimer ändå. Paese har en jättebra eye primer!
2. The same contouring shadow as in the face, I sweep along the globe line, two quick strokes, so fast! The brush is Nanshy Blend Eyeshadow Brush with synthetic hair.
This is such a simple and discreet detail, but for me it is very important indeed, it lifts the eye much more!
It is important here that you place the shadow so high that it ends up over the crease line fold even when you look straight ahead. Otherwise it does not lift the gaze at all but will disappear when you open your eyes.
3. A dot with bright glitter in the corner of the eye is so discreet (but effective!) That it fits even a normal everyday life at work / school. This liquid glitter goes in a second! Pixi Liquid Fairy Lights it's called and I used the shade Crystalline.
You can also take a regular light eye shadow, matte or shimmery, but I love glitter!
4. Then there is only mascara left! Magnetic Lash Mascara - our bestseller for as many years back as possible :)
I often only put on the lashes, I think it gives a nice lift to have all the focus over the eye. But if you put on the lower lashes, you open up / enlarge the gaze more, so it just depends on what effect you are looking for.
Now my eyelash curler has broken though so I do not have as nice lashes as I usually do ..
Hope you were inspired and that the post was helpful!





 English
  Swedish
  Spanish