Vill passa på att inspirera er med fem fina höstnagellack från mitt favoritmärke OPI eftersom jag i oktober har en rabattkod på Parfym.se!
Koden "Helenaokt” ger...
Sweed Lashes Mascara är otroligt omskrivna i sociala medier och här kommer min recension av båda varianterna; Sweed Lashes Cloud Mascara och Sweed Lashes...
Finally, I thought I would show you our self-built campervan / sheet metal / motorhome! Also takes the opportunity to answer what to think about when ...
Finally, I thought I would show you our self-built campervan / sheet metal / motorhome! Also takes the opportunity to answer what to think about when ...
I have been using Manukahonung MGO 600+ for a while to relieve my sore throat and try to get rid of my recurring sore throat / throat infections. So...
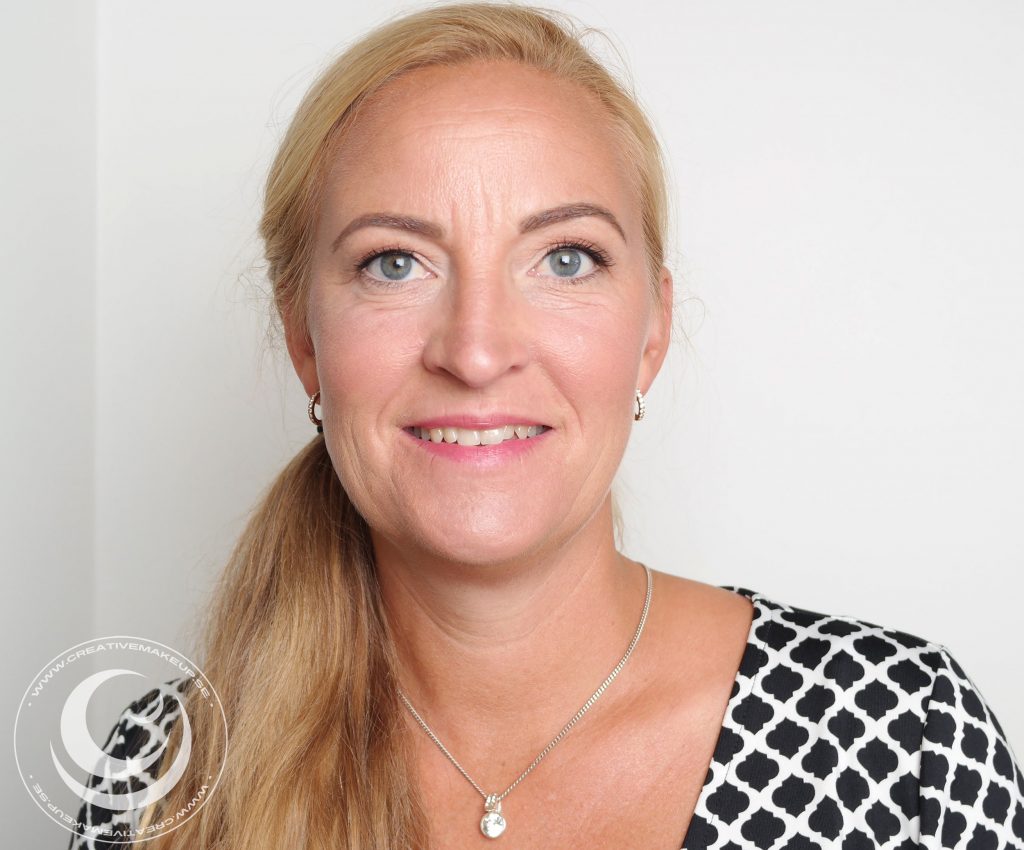
Here is a make-up customer from Norrköping who took the opportunity to book an appointment with us when she was in Uppsala, fun! :)
First we did brow pick and brow color and then a make-up consultation incl. products. She wanted an everyday make-up with tips that can be done quickly in everyday life.
That's why we chose a colored face primer as a base - if you do not need more coverage, it is absolutely the fastest way to get a nice base with everything you need: spf 30, smoother skin, smoother skin tone and a matte and durable result without powder.
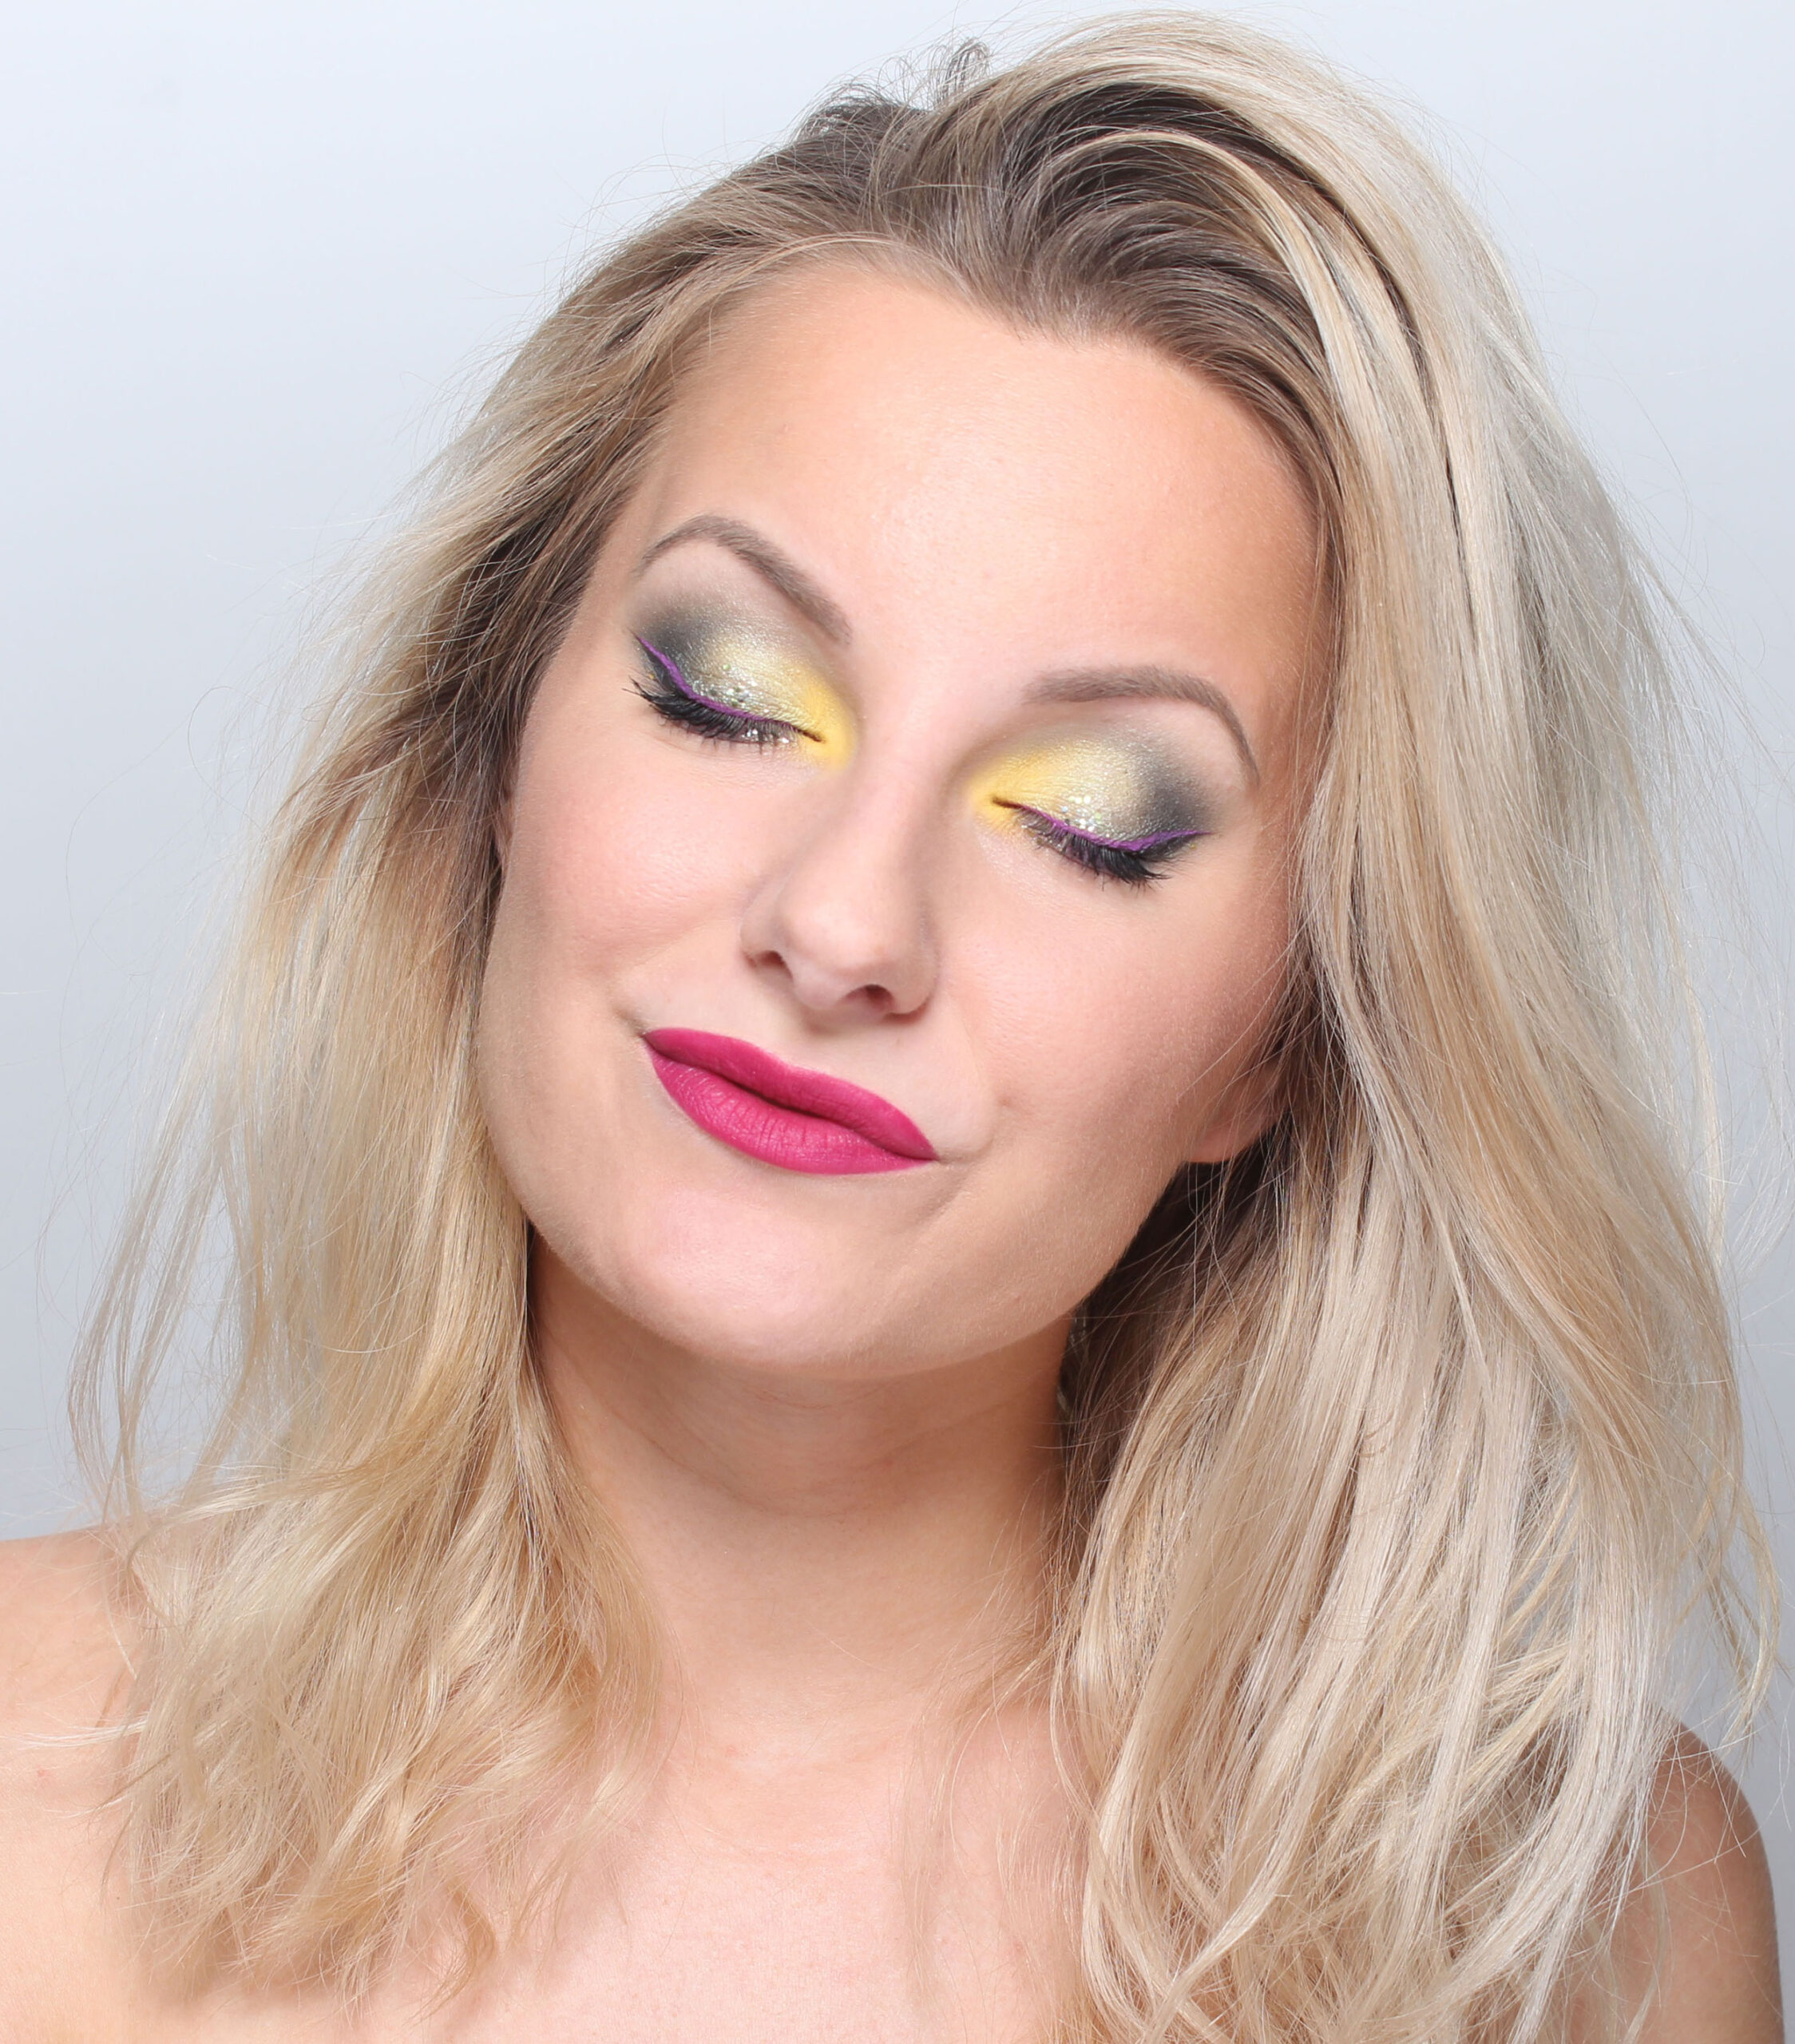
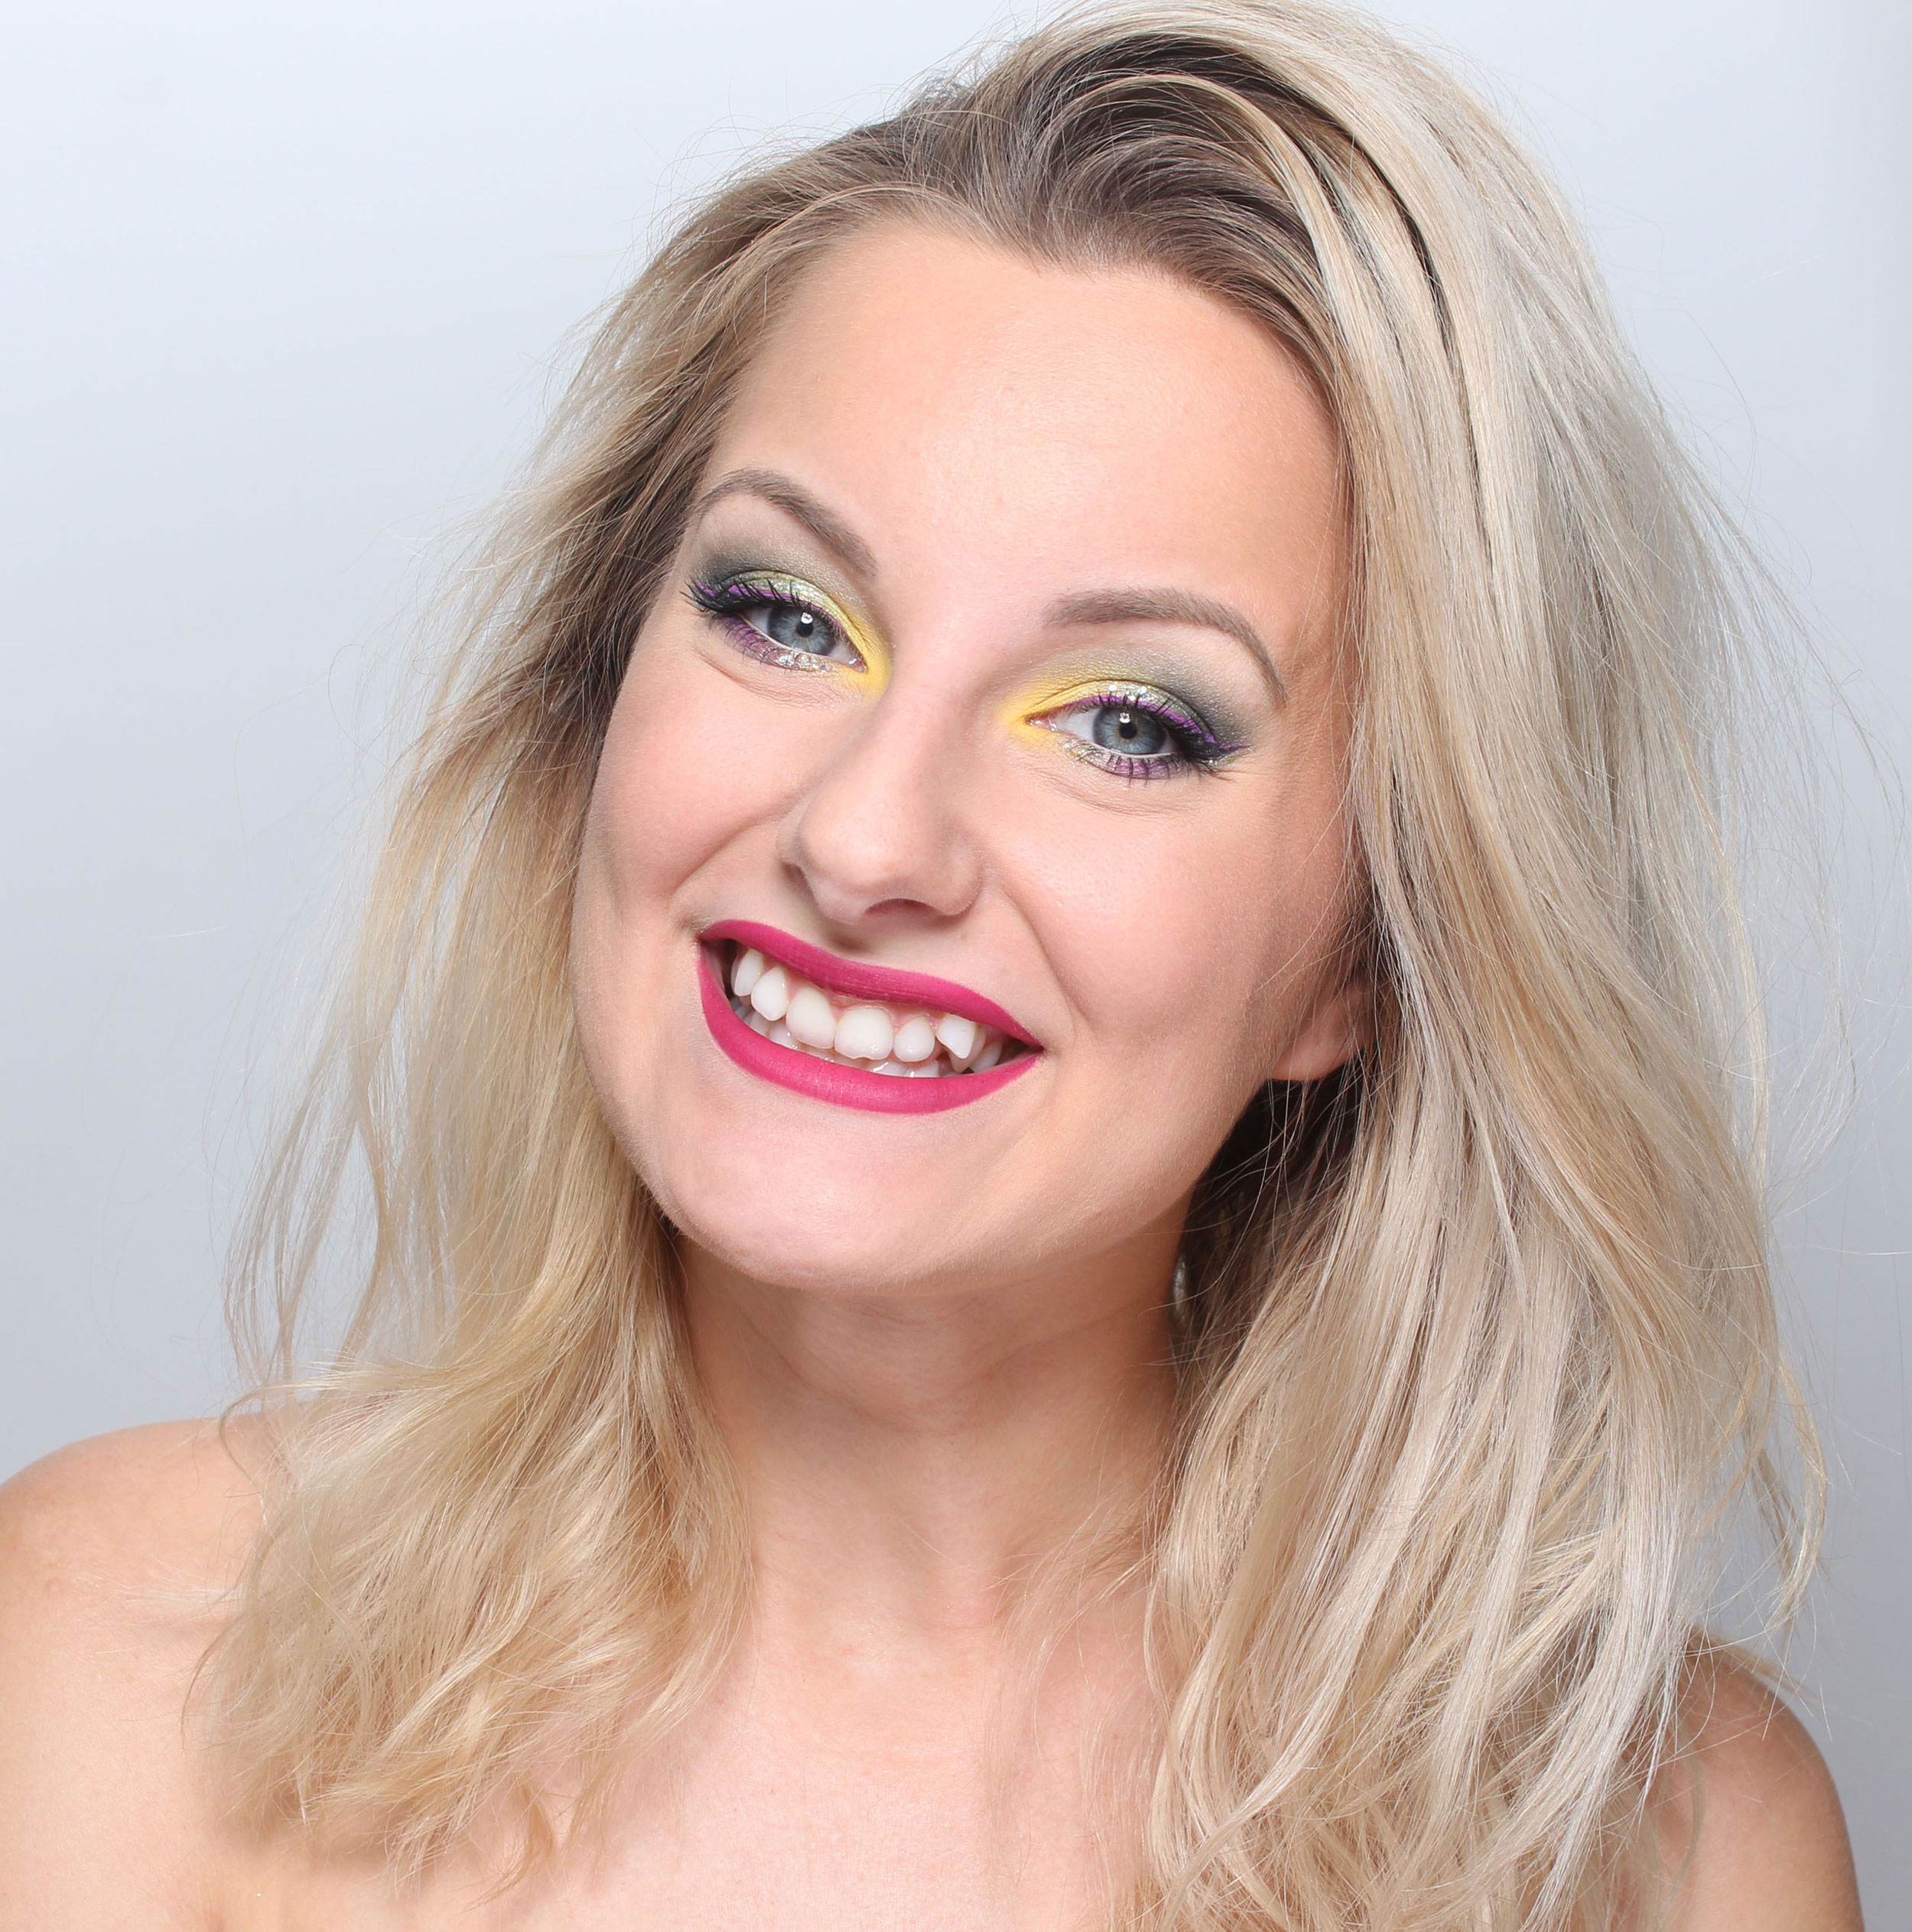
Then we did an invigorating eye makeup that lifts the gaze, it turned out really nice :) And finished with a colored lip balm instead of lipstick.
EYEBROW: Brynpenna - gloMicro brow liner (Light brown)
- The color is a little darker than what the eyebrow pencil really is because the eyebrows are completely newly colored
We put the eye shadow only on the top of the eyes, partly for a more natural and discreet look but also to get a more lifting effect. If you just put it up, you lift your gaze and if you put it both up and down, you open up your gaze.
Another detail that is important for lifting the gaze is to apply a slightly darker eye shadow just above the globe line so that it comes over that fold of skin when looking straight ahead. So relax in the forehead and look straight ahead - then you mark how high up you need to go with the eye shadow :) It does not have to be far over, a little does a lot!
I have received many requests for a more detailed blog post about how to make my acrylic nails on myself. Here it finally comes step by step :)
It takes a pretty good while to do all 10 nails, so tip number one is to make it a cozy moment.
When I took photos for this post, I was lying in bed with a cup of tea and Pretty Little Liars. Absolutely wonderful! Otherwise, I usually lie in the bath at the same time or listen to the podcast.
Here you see the end result. I have not made any extension but only reinforcement, so my nails below are exactly this length. However, it is possible to glue on tips first and then do exactly all the steps that I will show you now.
Risks of making your own nails at home - is it dangerous?
Before I start, I really want to emphasize that there is nothing to play with this! If you get acrylates on the skin, you can get strong reactions. So it is important to be responsible, as well as aware that you are actually taking a risk.
Nail-savvy people probably kick back if they read this and if you test it yourself, you do it at your own risk quite simply;)
With that said, here is a detailed step by step + links to the products I use!
You need this to build your own acrylic nails:
Note I do not even know if these are exactly acrylic nails, but they are mixed with acrylic powder in any case.
Nail polish removal
Nail powder, I use EzFlow Extra White but it is available in more colors as well.
Nagellim, e.g. Essence fix it (adlink) A small bottle runs out pretty quickly so good to buy several at once if you are going to continue building your nails. However, you can use glue from other brands as well, there is not a huge difference between glue and glue.
At least 2 brushes, absolutely none that you are afraid of.
Two nail files - a polishing file, e.g. this from Depend (adlink) with 4 steps. As well as a powerful that grinds properly, e.g. this from Lyko (adlink) which is for forming gel and acrylic nails.
Something small to mix in, I have a small glass bowl. Maybe a shot glass upside down can work well?
I use a spoon for the nail powder, but it works with a spatula or whatever!
I have all the stuff in a drawer, and when I fix my nails I turn the drawer upside down and have it as a table in the bed :)
Build nails yourself step by step - preparation
1. Polish the nails with the polishing file. Not too much because you do not want to make the nail thin, but so that you even out the biggest irregularities.
The smoother the nail, the more durable the result.
2. Clean the nail with nail polish remover so that it is completely clean.
3. Pour nail glue into the bowl. It is a transparent liquid so it is not visible in the picture that I have poured in :)
Mix in nail powder, I use the handle from a teaspoon to pour in.
Update! An even easier way I came up with is to dip the brush in the glue, then straight down into the powder jar. You do not necessarily need to mix like this on the page. It is much smarter for the batter in the glass jar to dry otherwise. But if it is just poured glue in the bowl, it is liquid for a very long time and you can work without stress.
5. Konsistensen ska vara “lagom” tunn, den får inte vara för rinnig för då får du inte på ett tjockt lager på nageln. Men den får inte heller vara för tjock för då blir den kletig och svår att få jämn.
Build nails yourself step by step - application
Spread over the entire nail. Lay a little thicker in the middle of the nail and be careful not to get it on the cuticles or out on the edges. It is easiest to try to get it as even as possible immediately, but if it gets a little uneven somewhere, it does nothing because you can file it off.
When I was a beginner, I did one nail at a time. But the easiest is to:
Apply thin layer on each nail on all 5 fingers
When you put on the fifth finger, the first finger has already dried a bit. Then apply all 5 nails again.
And so you build up a little at a time all the time.
The first time I did this, the durability was like that, but the second time I put a thicker layer and then it held much, much better! So it's also a tip, do not put too thin :)
7. Spray the glue activator spray and everything will harden immediately. It then smells quite strong.
You only need to do this in the last step. Not between applications while building your nail.
8. Since I have white powder, I like to put an extra layer on top of the nail, so it will be extra white there. A bit like a French manicure with a fade :) Then you spray again!
Build nails yourself step by step - shape and finish
The result will not be completely even, not for me in any case. But it does not matter because you file it later! Then I do all these steps on the rest of the nails as well.
9. When I have finished all the nails, I quickly clean the bowl with glue before the glue has time to solidify.
Then we come to what I think is the coziest - sit back and start filing! So I take the coarse file and file on the top of the nail so that it becomes a smooth surface. As well as molds for the edges.
10. Then I take the polishing file and polish the nails so they become smooth and shiny.
11. I finish with transparent varnish to get that nice high-gloss effect. Nail polish fits much better on built nails so I usually never actually improve it but it stays on until I redo the nails next time.
I also use it to protect the nails from discoloration, I usually do not smudge so much but it can happen that you happen to get e.g. lash color on the nails when working with a customer :)
Durability acrylic nails
The durability depends partly on how much stress there is on the nails, but it is also individual. Annika makes her nails with exactly the same material but on her it lasts much longer! Over a month. Mine lasts for about 3 weeks, even when Annika has done on me so it has nothing to do with the skill.
They also last longer if I build with tips than if I only have on my natural nails.
Jag brukar “snygga till” dom efter 2 veckor om jag varit aktivt. T.ex. när jag bodde i hus och grejade mycket med ved och sånt. Jobbar jag bara hemifrån så håller de såklart längre.
It can drop a little at the edges, but then it is very easy to file a little and apply more glue so it sinks under the material and they look freshly made again.
Then I usually redo them completely after 3-4 weeks.
It takes some time so there is nothing that anyone has the time or patience for. But for those of us who have patience, it is very calming, I must say!
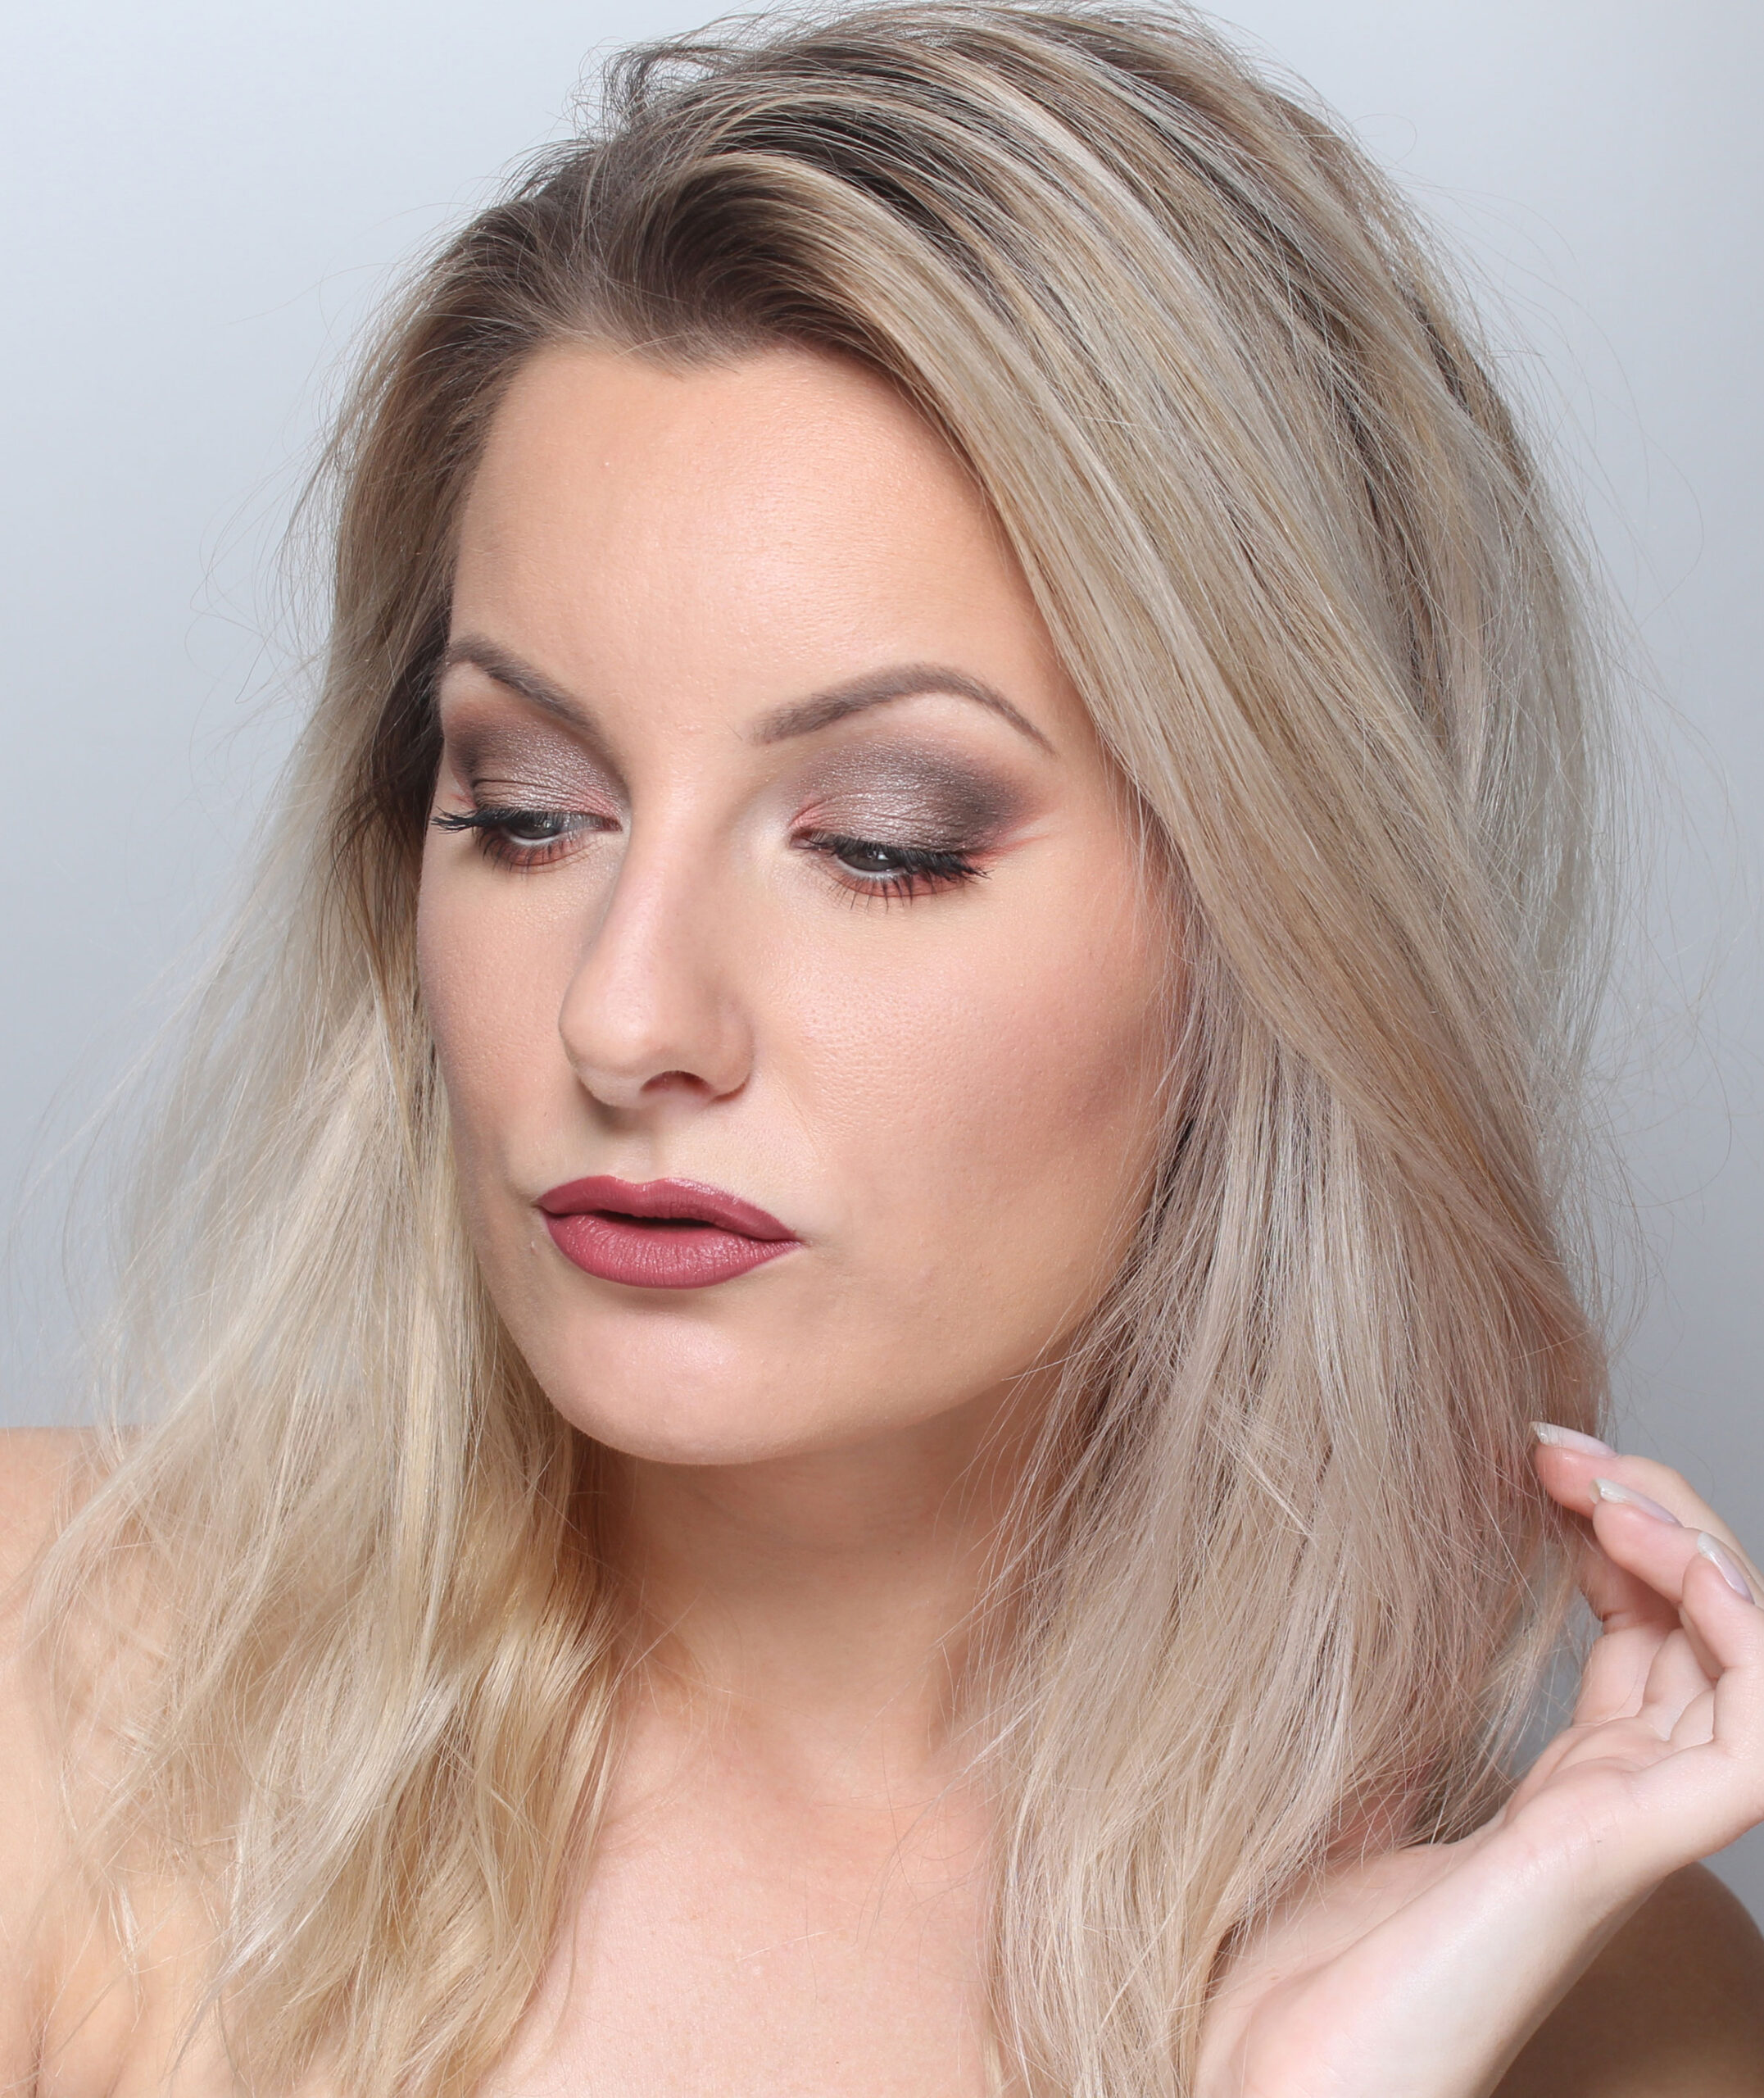
One way to apply eye shadow that I have not done so much before, but which I now think is a very nice technique actually - is to moisten the eye shadow brush a little!
I still have primer underneath as usual + moisten with fixing mist (so not just water) so the durability is just as good.
What is the difference?
1. The difference is partly that shimmery shadows get a little more powder in them, they become a little more glowy or metallic.
2. It is also easier to get a shadow to attach better on top of another shadow, because dry on dry does not adhere as well. This is what I did in this make-up - first light brown over the entire lid, then darkened on the outer edge and a warm color on the inner edge, and then they attached very quickly and easily even though it is shadow on shadow :)
3. You can also make a little sharper edges and get more precision! For example. as I did at the outer edge of today's makeup.
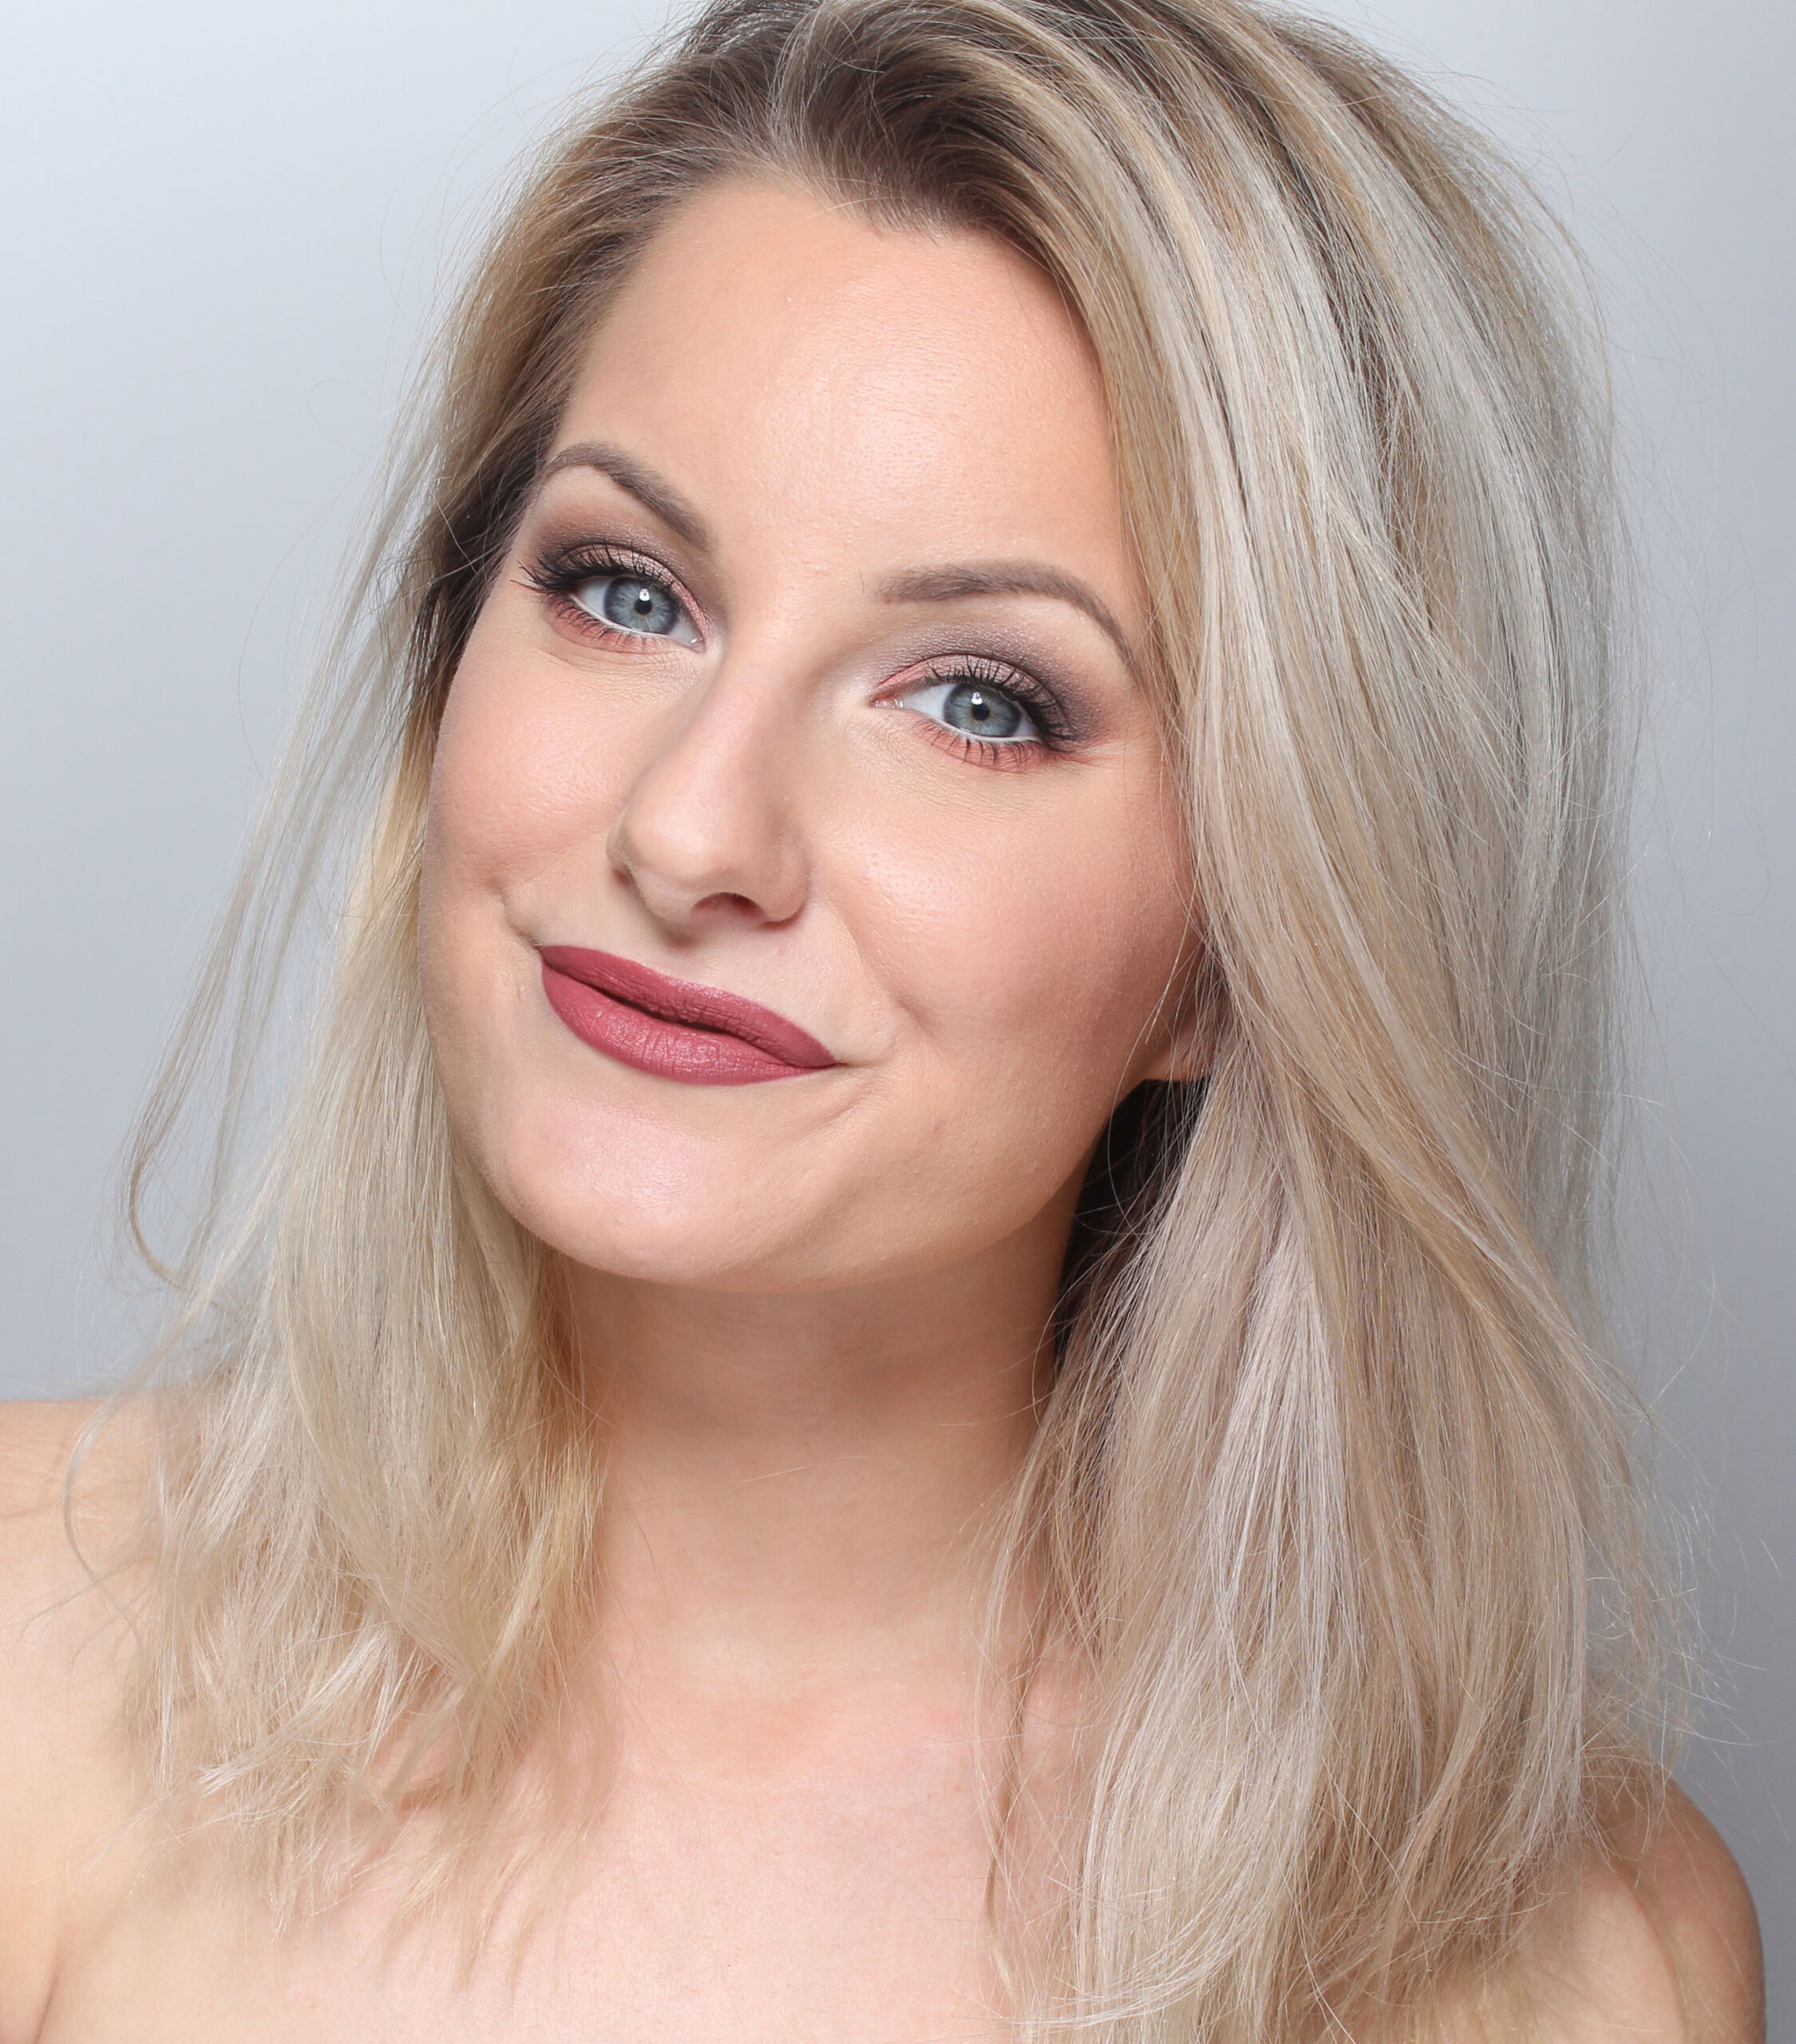
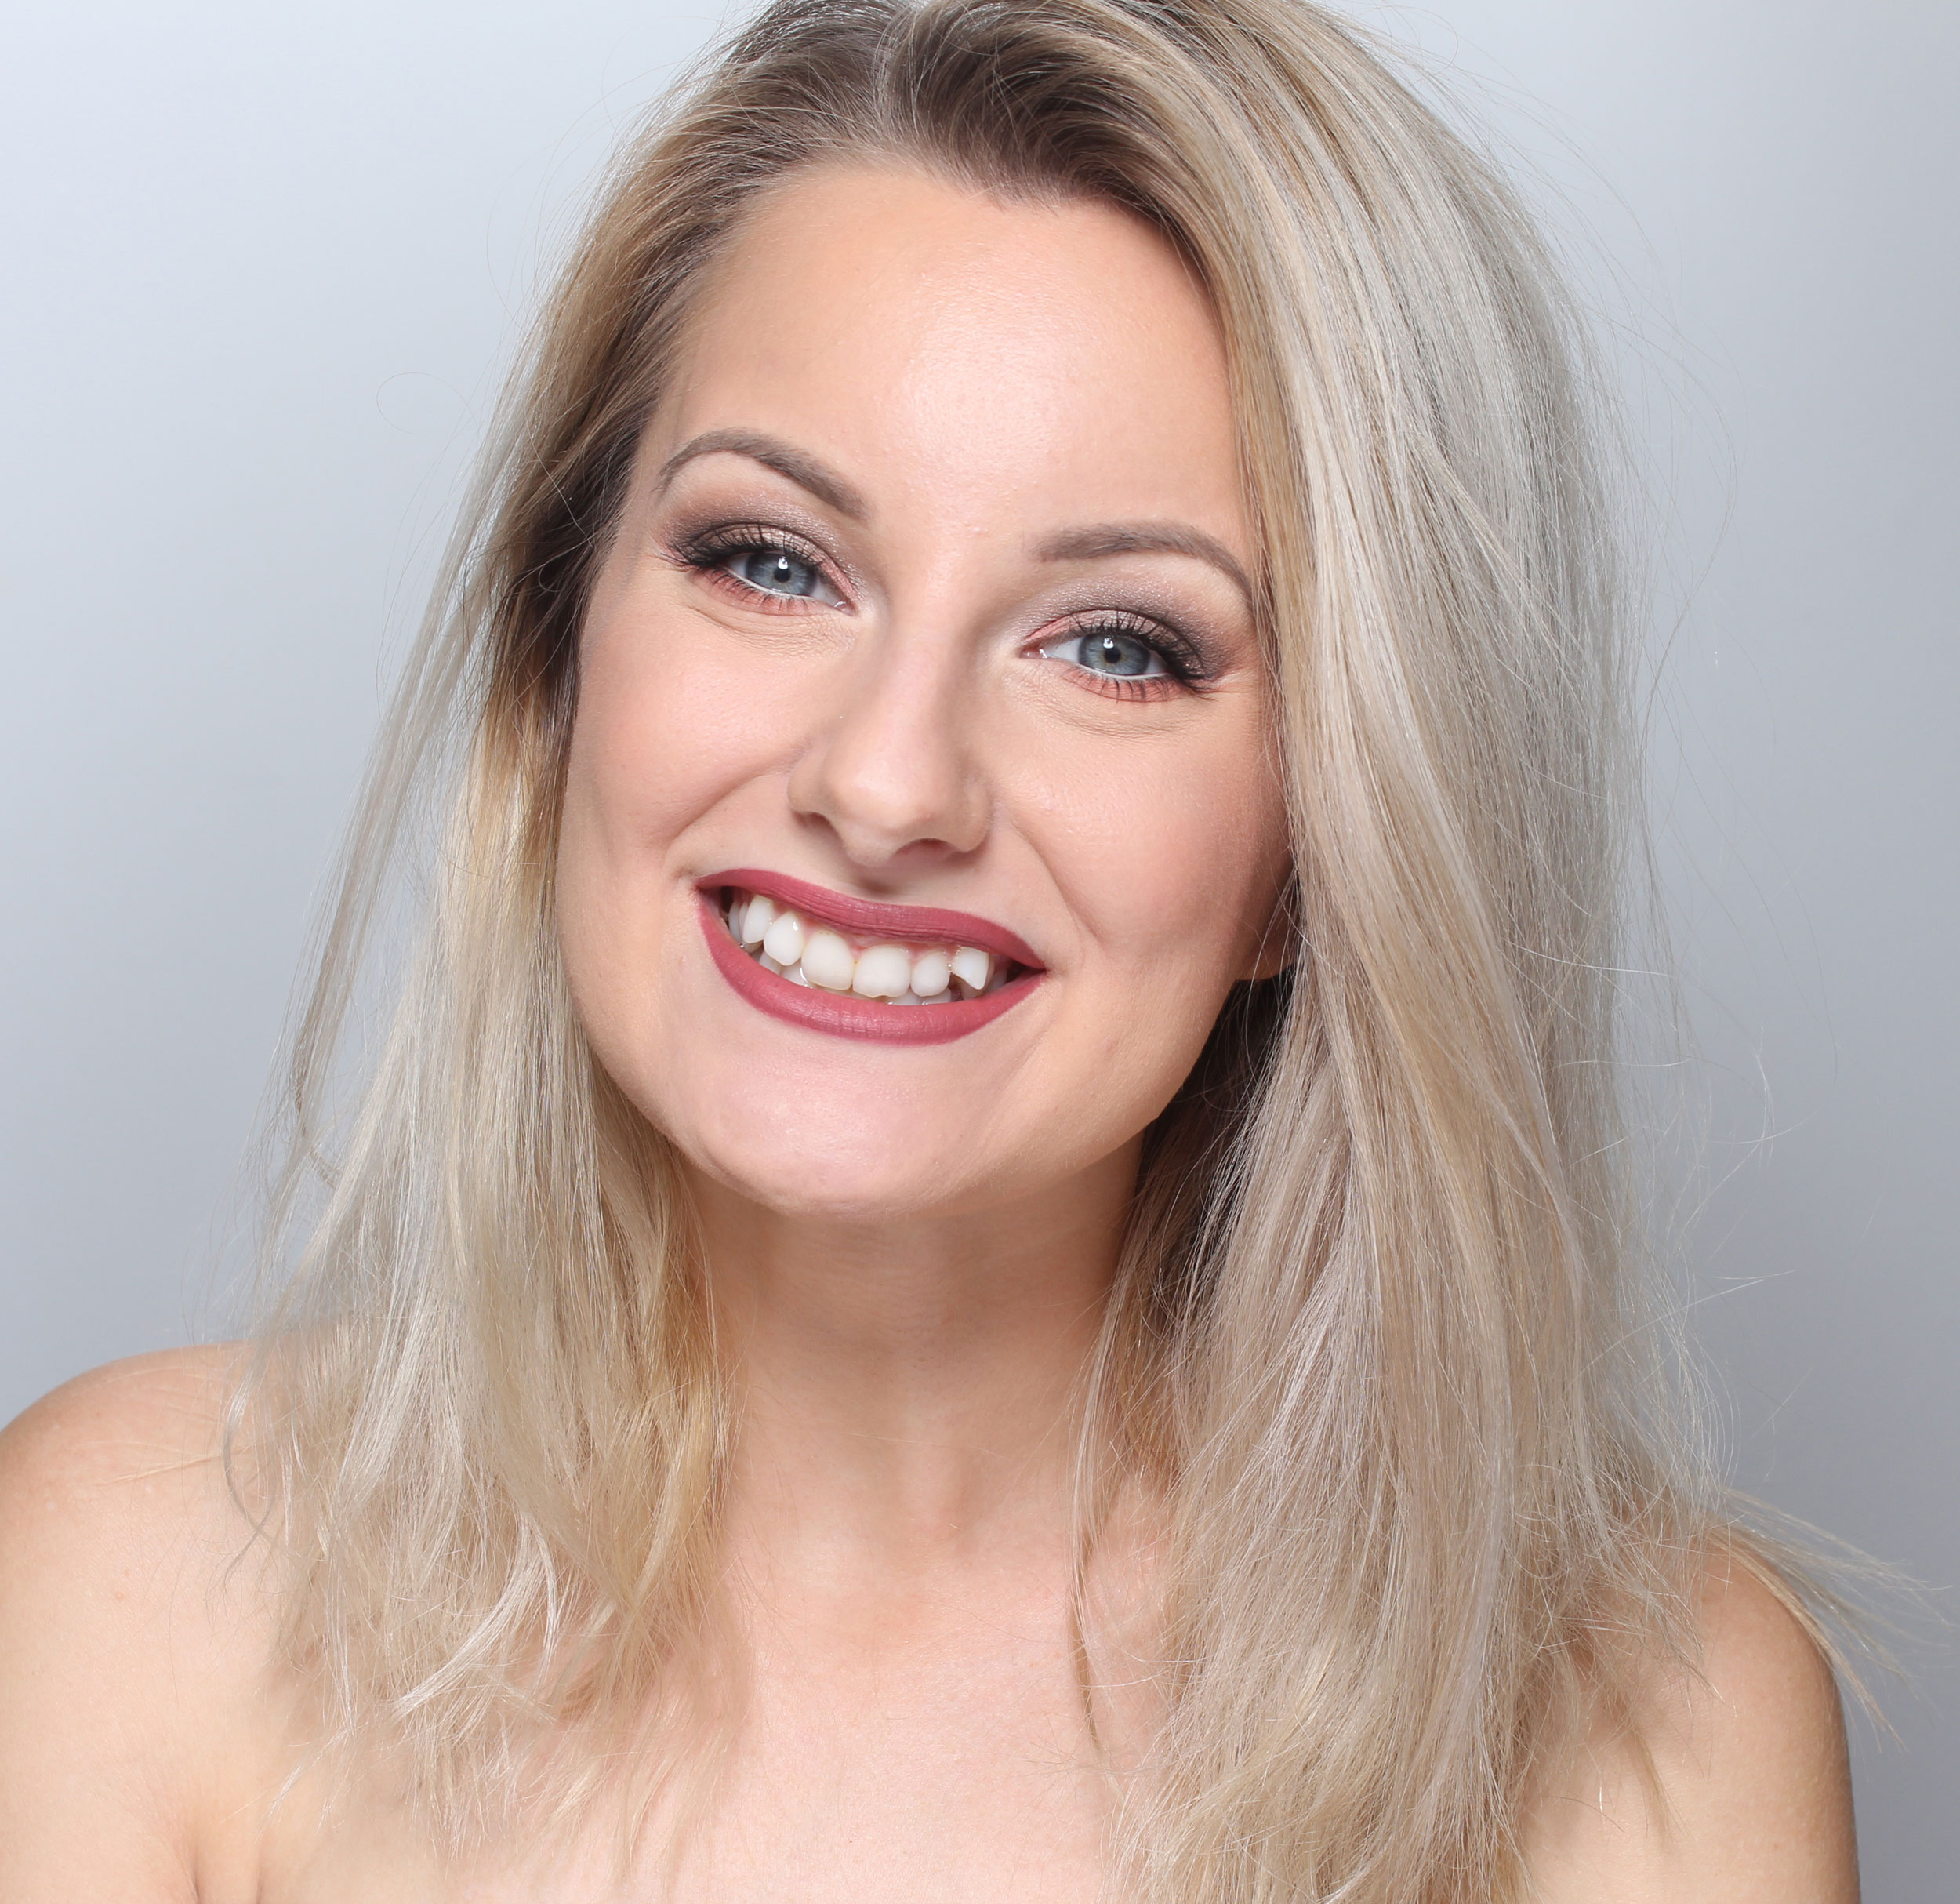
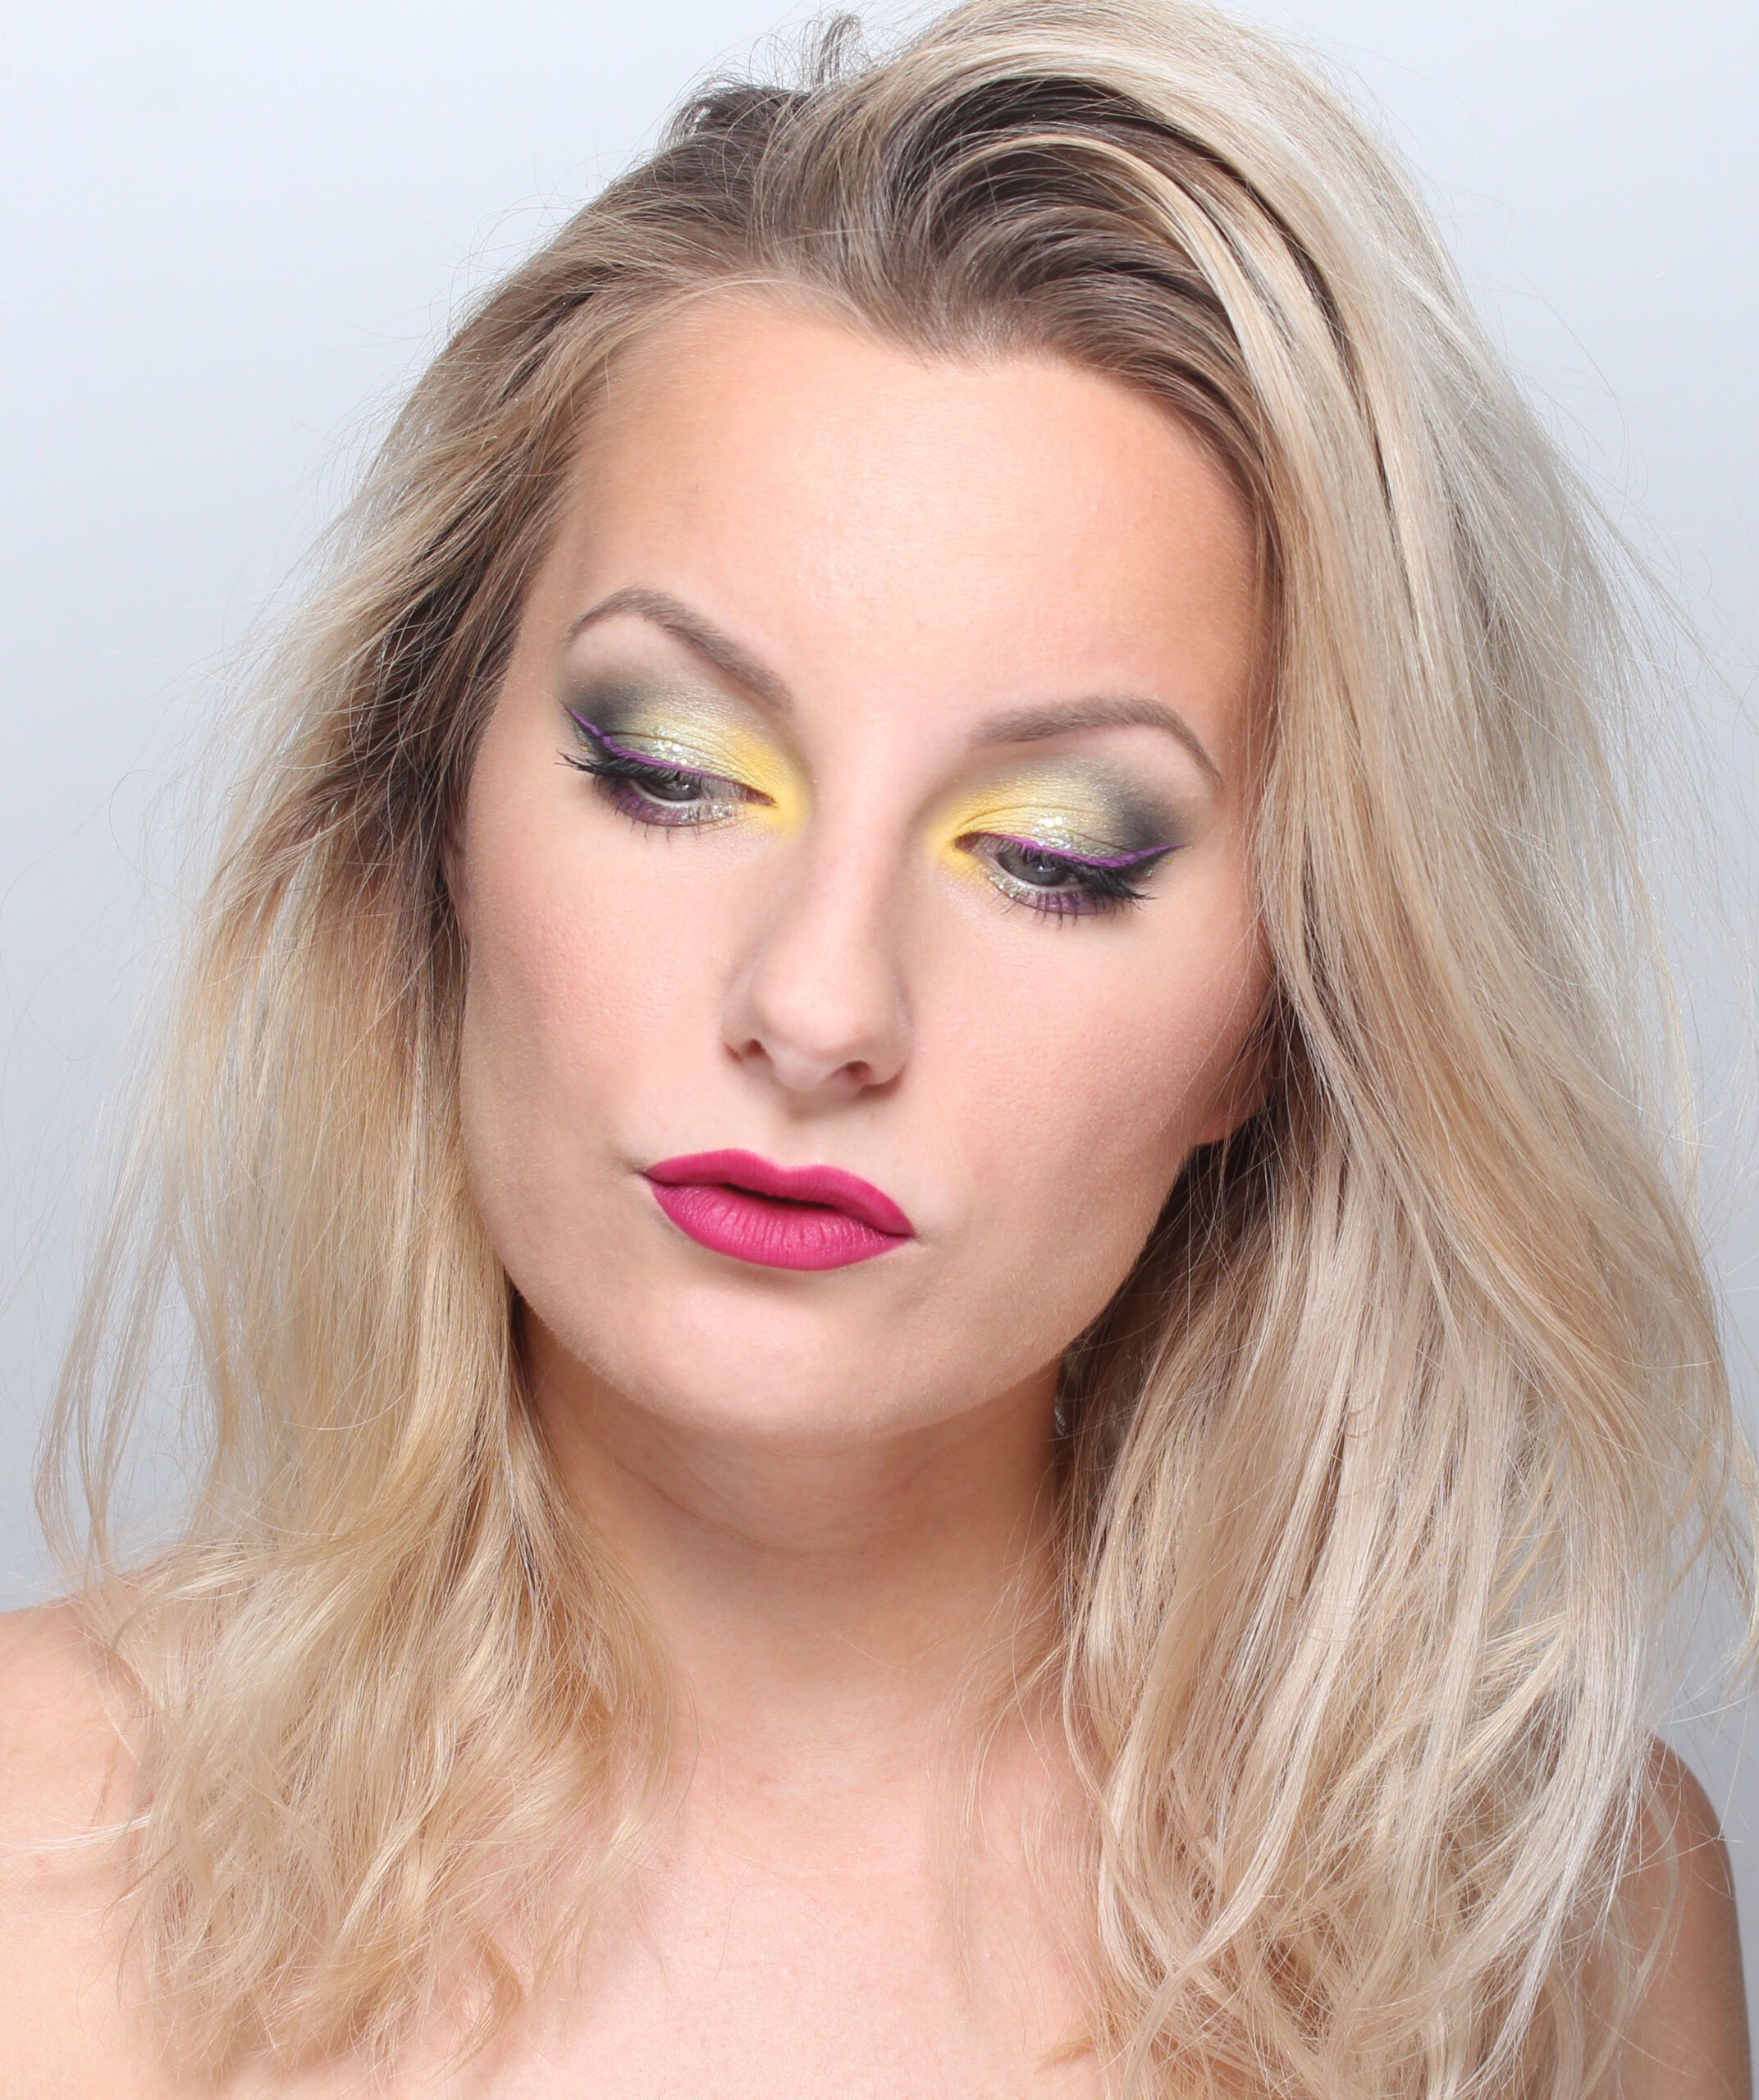
Det här är för övrigt exakt en sådan sminkning som jag känner mig väldigt bekväm och fin i! Den är tillräckligt mörk och tydlig för att “ta fram” det finaste i mina drag. Men den är också så pass jordnära och neutral att den passar till allt och alla tillfällen :)
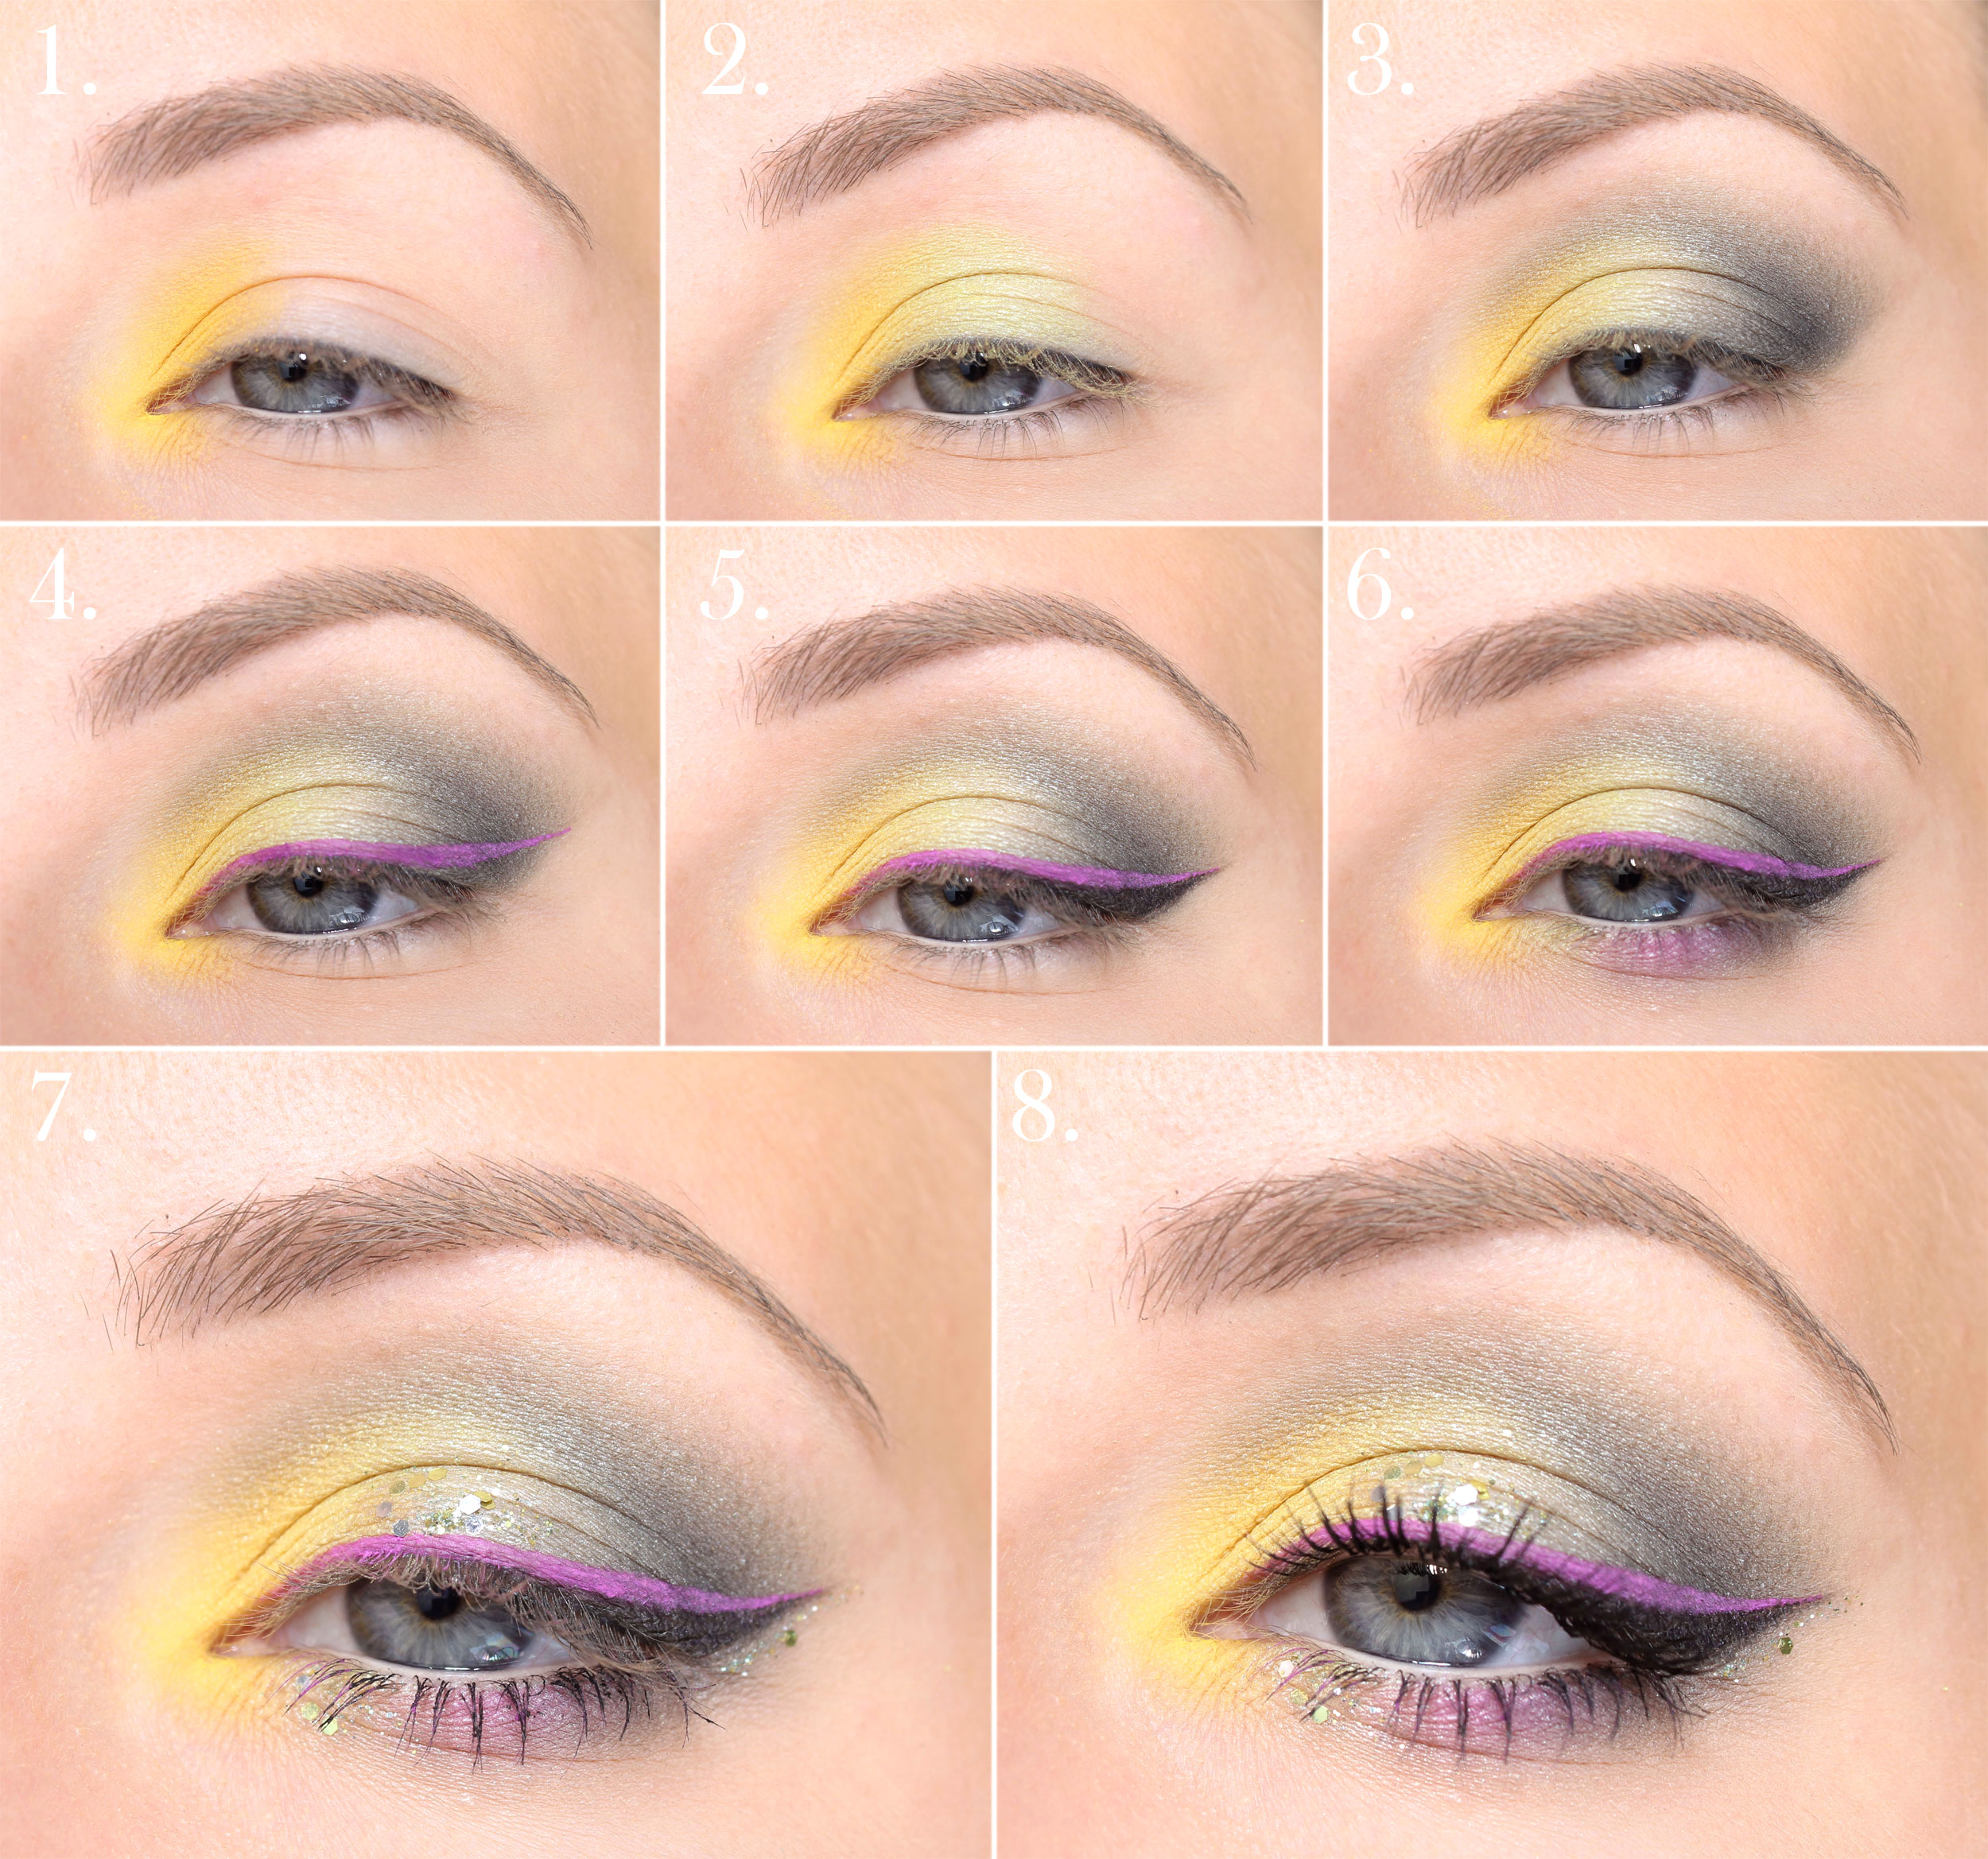
All eye shadows are applied with a dampened brush that I sprayed a little Pixi Makeup Fixing Mist on.
All four eye shadows come from the 4 palette glo Shadow Quartet (Bon Voyage)
Eyeshadow primer, Pixi eye bright primer
Light brown shimmer shadow on the entire eyelid
Fade the edges
Dark brown eye shadow at the end of the eyelid and along the globe line
Terakotta-ögonskugga innerst på ögonlocket och längs hela undre fransraden + i en skarpare “v-form” i ytterkanten
Ljus ögonskugga i ögonvrån och i mitten av “v-formen”
Oavsett om vi pratar jobb, företag eller privatliv så är orden “vad, hur, varför” väldigt viktiga att fråga sig själv regelbundet.
For example: 1. What: I want to get really sharp on makeup 2. How: I will do a new look every time I put on make-up and challenge myself with more difficult techniques and color combinations. Three make-ups a week in one year is a total of 156 pieces, after that I will be cruel at this! 3. Why: Makeup is fun but it is much more fun if you are good at it! And I want to start each day with a fun moment in front of the makeup mirror as meditation and free time.
And that's just the last word - why - which I want to push extra hard for today!
Jag har nämligen själv hamnat i den “fällan” att jag gör saker av fel anledning utan att jag ens reflekterar över det själv! Det är så mycket som jag vill göra, vill ha och vill förändra när jag tänker på det ytligt, tills jag kommer till varför-fasen och inser att “när jag tänker på det så vill jag ju faktiskt inte ens det här!”.
For example: 1. What: We will turn Creative Makeup into a beauty chain! Cool !! 2. How: We rent premises in Stockholm and Gothenburg, employ makeup artists and train them in our way of performing treatments, permanent makeup and our product range. 3. Why: Ehh, that would be cool? It would be a great financial gain. But it will be a lot of work too .. On closer inspection, I do not want to make more copies of the workplace I have today, I want to make that workplace completely stable and spend my time on new projects instead!
Kan ett otydligt “varför” leda till psykisk ohälsa? Now maybe you think I end up on very long side tracks :) but what if we had made Creative Makeup a salon chain, worked really hard and burned ourselves out on the coup - and then we realize that we have done it for the completely wrong reason. If you really wants one thing and know why man kämpar så är det lättare att ta sig igenom motgångar (nått skit kommer ju hända, det är det enda man vet – som Mikael Arnt sa så bra i ett avsnitt av Businesspodden haha). För alla problem och motgångar blir så mycket tuffare om man inte har ett tydligt “varför” i allting man gör.
Man “ska” så himla mycket hela tiden. Du ska ha råd med så mycket, jobba så mycket och samtidigt ha mycket tid över till att umgås, träna, städa, gå till frisören och allt vad det är.
Det är såå lätt att känna press och stress när man tittar på andras liv (speciellt i sociala medier) och så vill man ha allting som alla andra har. Men hade du bara stannat upp och tänkt efter “varför vill jag ha det här?” så hade du väldigt ofta insett att du inte ens vill det egentligen. Jag tror verkligen att vi föder så mycket onödiga hjärnspöken som vi hade kunnat slippa om vi bara ställde oss frågan “varför” lite oftare.
In other words: Det handlar inte om att alla måste bli bättre, utvecklas och bli framgångsrika. Utan om du ställer dig själv frågan “varför” så kanske du inser att du faktiskt är nöjd med det du har och till och med kan släppa all press och stress tack vare detta! Egentligen kanske inte du inte vill ha mer prylar eller större boende utan är nöjd med din lön som den är = du kan tacka nej till den där heltidstjänsten och istället lägga den tiden på att umgås med din familj eller rentav bara ligga i soffan och kolla på serier förutsatt att det är vad just du mår bra av :)
What can we managers do about mental illness?
It scares me how much mental illness there is in society today. And it's not just driven entrepreneurs who get burned out, it's just all industries! I get terrified when I think about the idea that my staff or someone I care about a lot should burn out.
Vad kan vi chefer göra då? Man kan vara en stöttepelare och man kan underlätta med det man kan, men ska jag vara helt ärlig så tror jag inte att det finns mycket mer som man kan göra. Vet ni varför? För jag tror att det i 90% av fallen inte beror bara på arbetsplatsen i sig, utan “livspusslet” överlag.
If you have a bad workplace, you can of course burn yourself out just because of it, but I really think that there are so many more components that come into play such as relationships, family, housing, rest, finances - in short, the balance in life, mixed with that pressure you put on yourself.
Dare to think outside the norm
Det är så många som gör saker bara “för att man ska”, för att samhället ser ut så och man inte ens reflekterar över det – och när man sedan står där utbränd med en hjärna som inte fungerar längre så förstår man inte ens hur man hamnade där. Var det värt det?
I firmly believe that if you just dare to go liiiite outside the norm, you will become a happier person. Or dare think utanför normen är kanske en mer korrekt definition, för det är inte alls fel att leva som normerna är men risken om man inte ens tänker utanför är just att man gör saker “för att man ska” och inte “för att man vill”.
How do you find your why?
Att behöva ha ett “varför” till allt man gör kan ju också kännas lite stressigt haha. Jag menar, varenda grej kan ju inte vara så himla betydelsefull i livet för då kan man ju inte göra någonting alls till slut.
I think it's a lot about taking the time to listen to your gut feeling. You have to do things that make you feel good and not stare blindly at the opinions of others. Do you want to lie in the bathtub and eat ice cream? Do it! Do you finally want to take the plunge and start your own business? Do it! :)
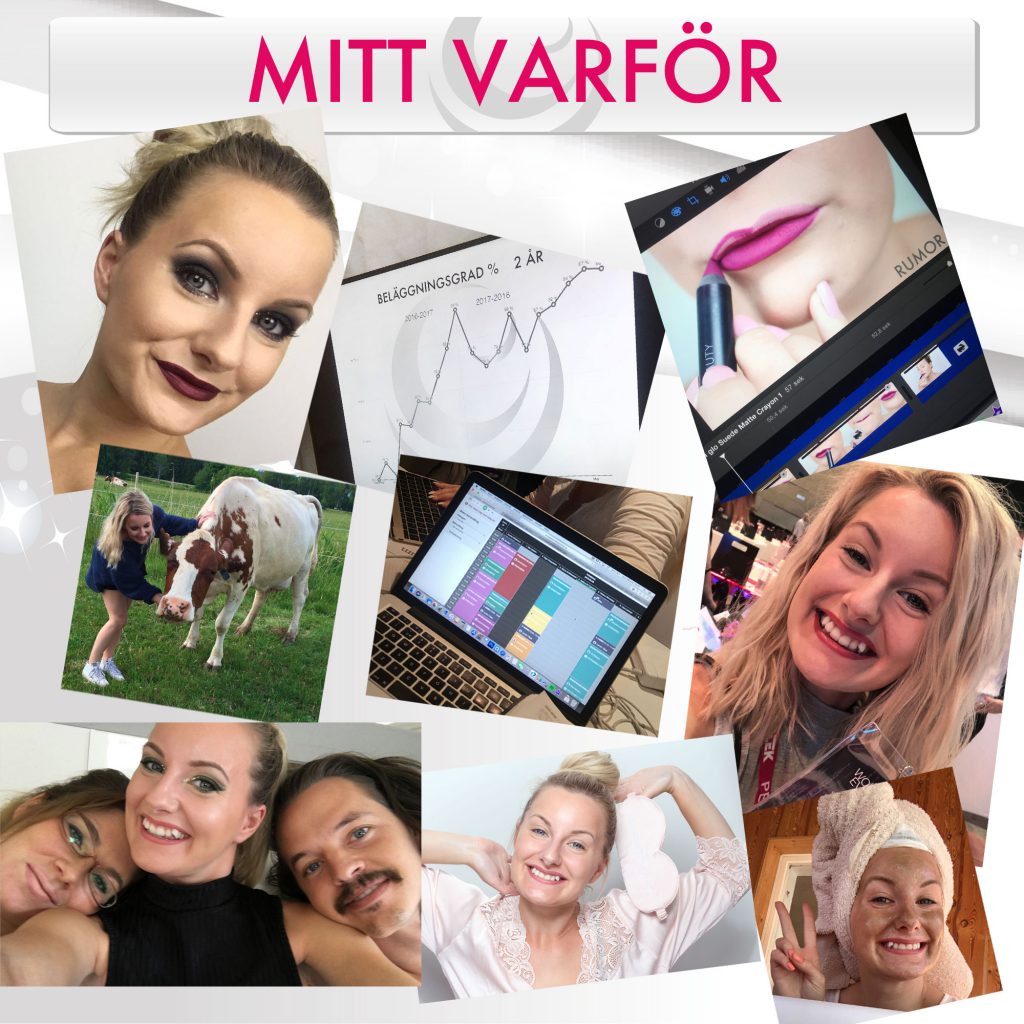
What is my why?
Jag själv tänker ofta “varför” i min vardag, det kanske är därför jag har en ganska bra balans mellan driven företagare och livsnjutare haha :)
I work hard because I know why jag jobbar och vad jag ska göra sen. Jag tänker inte “nu sitter jag och har ett möte med min personal” utan jag tänker “nu sitter jag och bygger världens bästa arbetsplats!”.
I save money because I know what I want to use them for and why it will give me more quality of life. If I buy a car, I want bluetooth so you can listen to music and podcasts via the phone and a button on the key so you can start the engine heater while you are still inside the house - rather than a luxurious and expensive brand that impresses people! You understand the point :)
Jag tar också långa bad, strecktittar på serier som en hösäck i soffan, älskar tofflor och ansiktsmask och försöker vara ganska “mañana”. Varför? För att jag njuter av att vara hemma i mitt hus och mår jättebra av egentiden!
I value soft values and I love the lifestyle of having my own business! It's really not about any kind of prestige or being able to sit on a pile of money. I see absolutely no fascination in it but want to have fun both at work and in private, have financial security and the freedom to live my life just as I want to live it.
Hope you thought it was a little fun to read something else this Sunday than just what my work week has looked like :) We live the flea in Spain for a week to us!








 English
  Swedish
  Spanish